In this tutorial, I´ll show you how to paint a camouflaged tank using the B&W Technique.
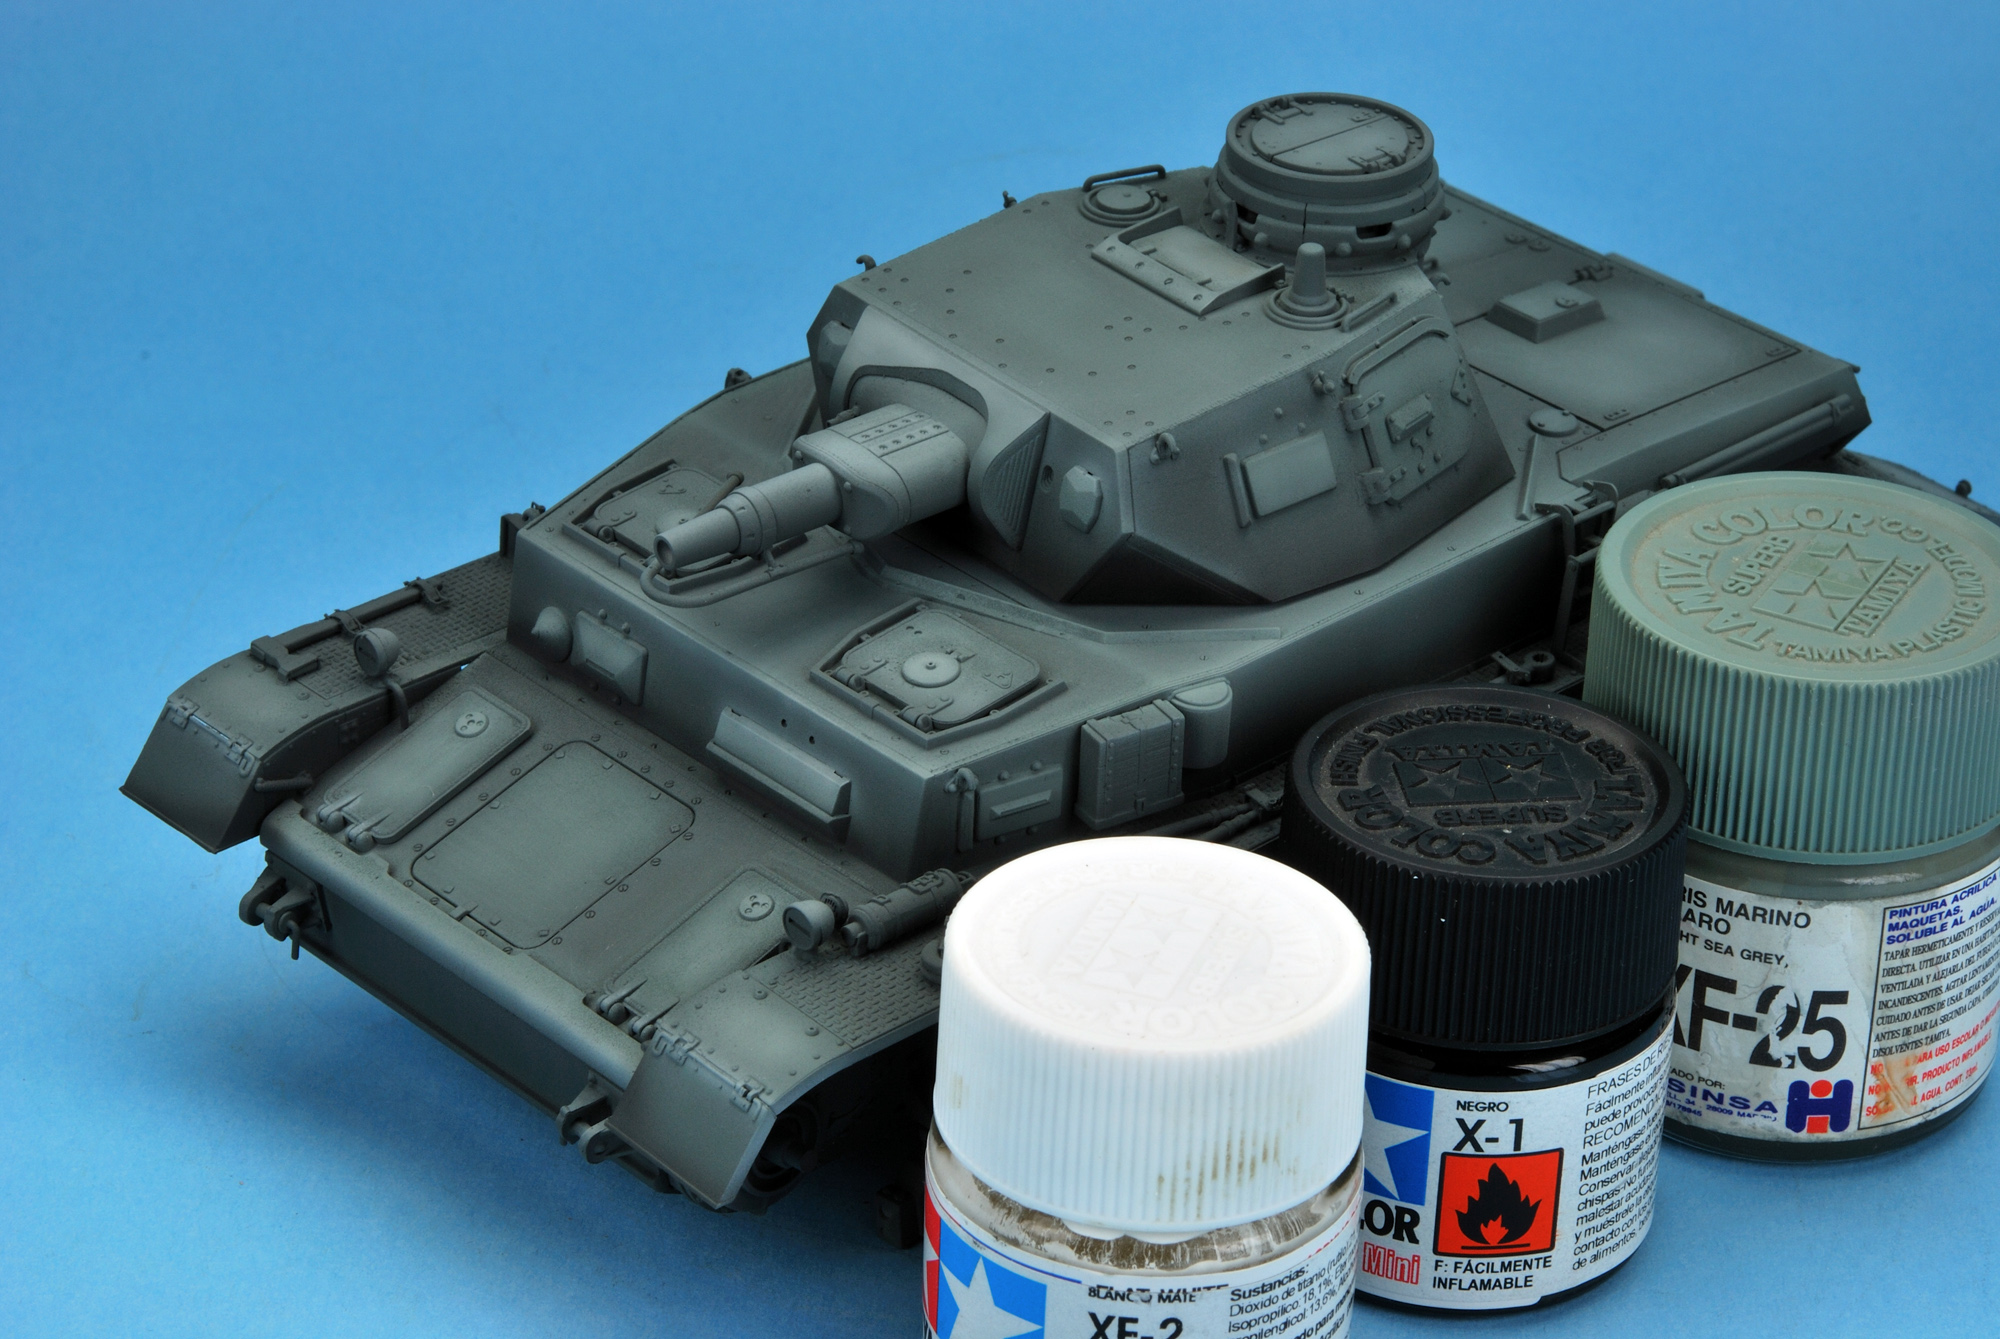
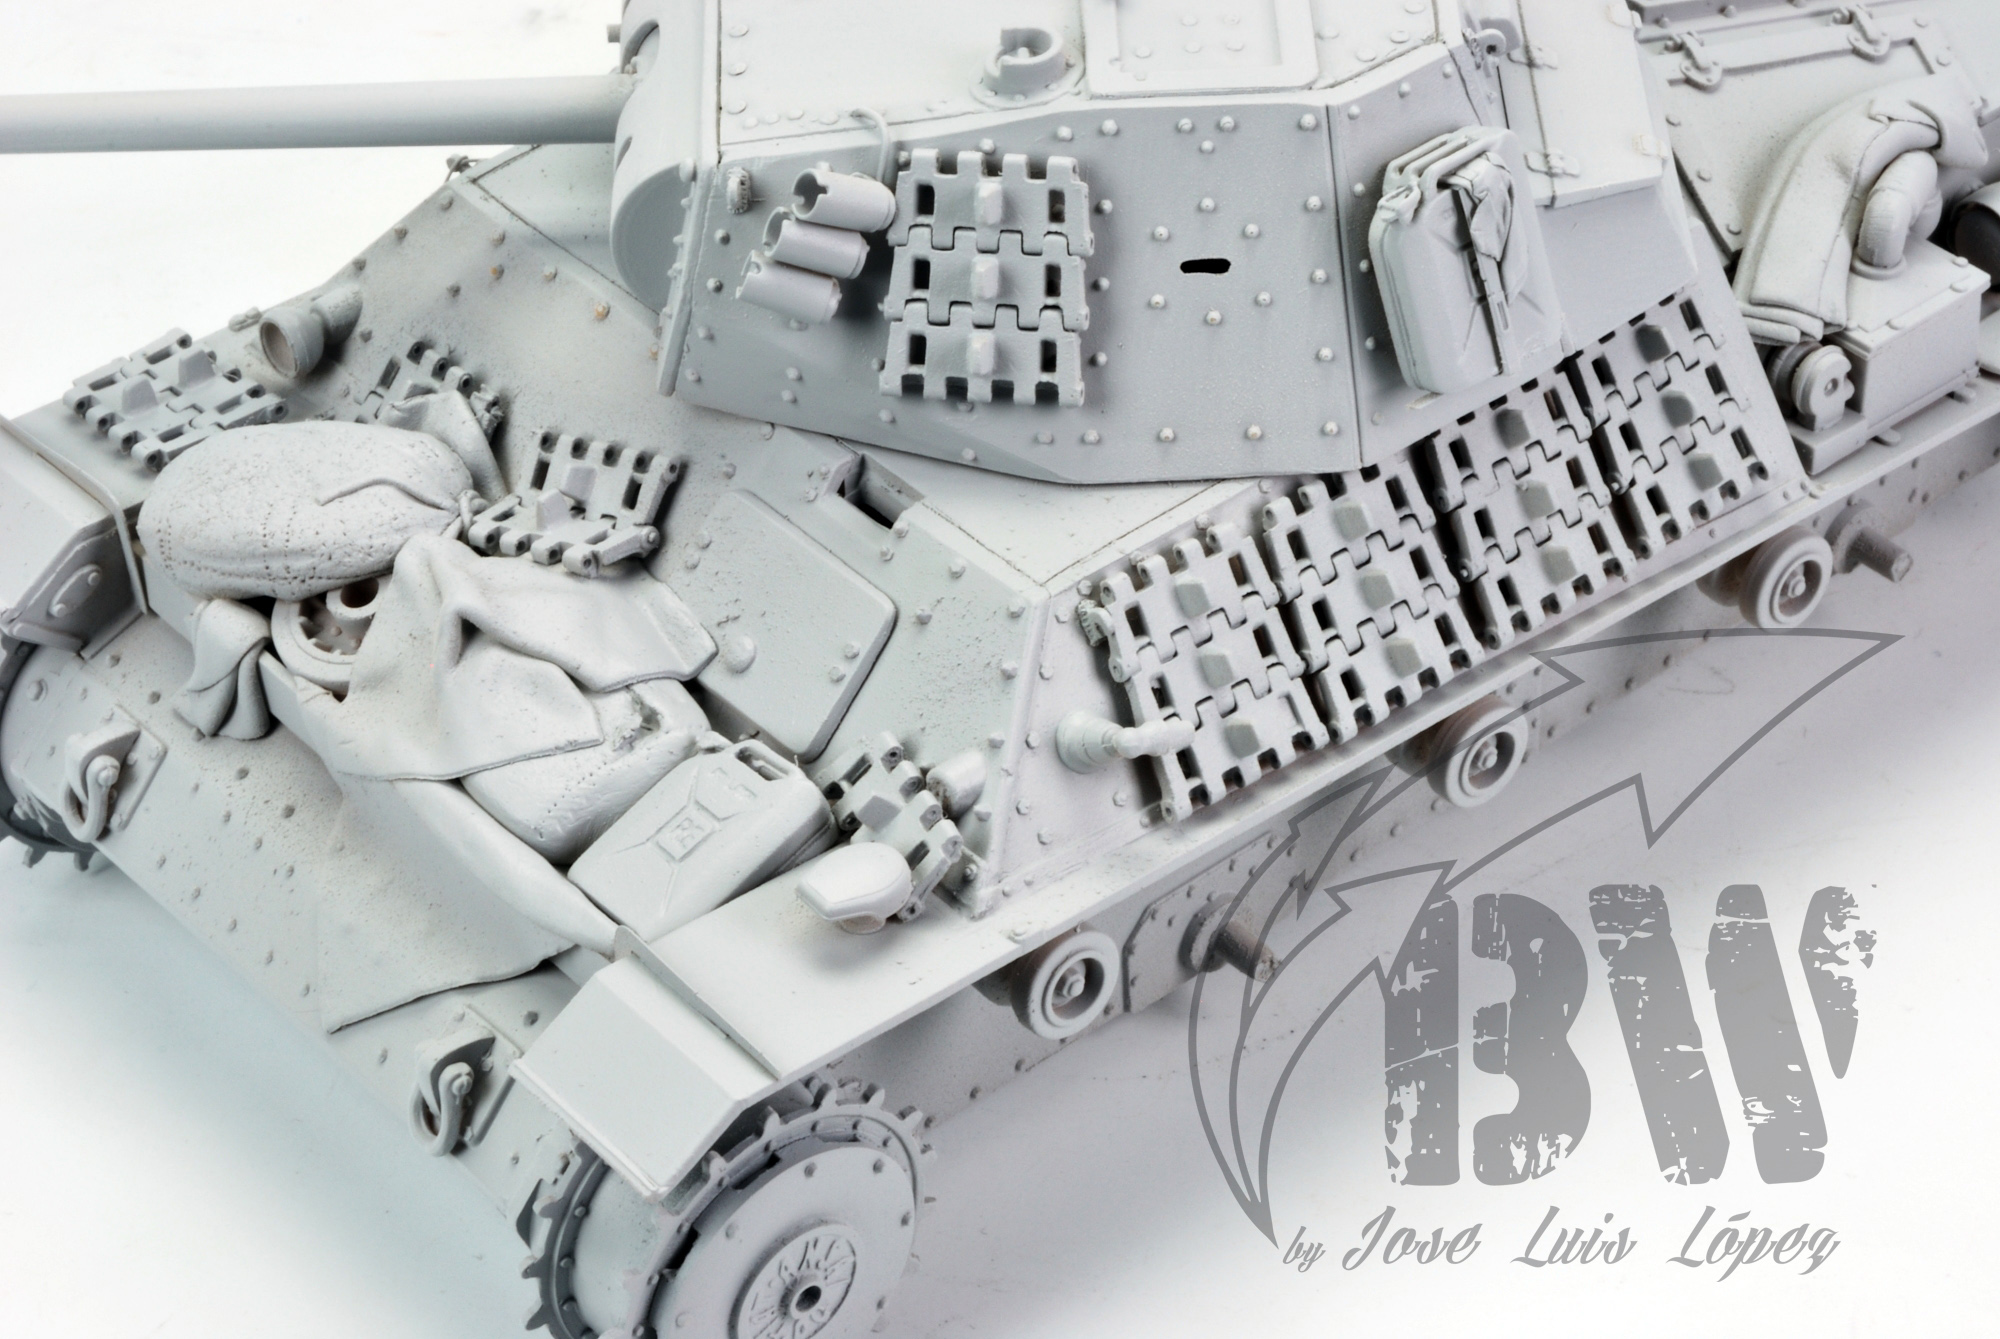
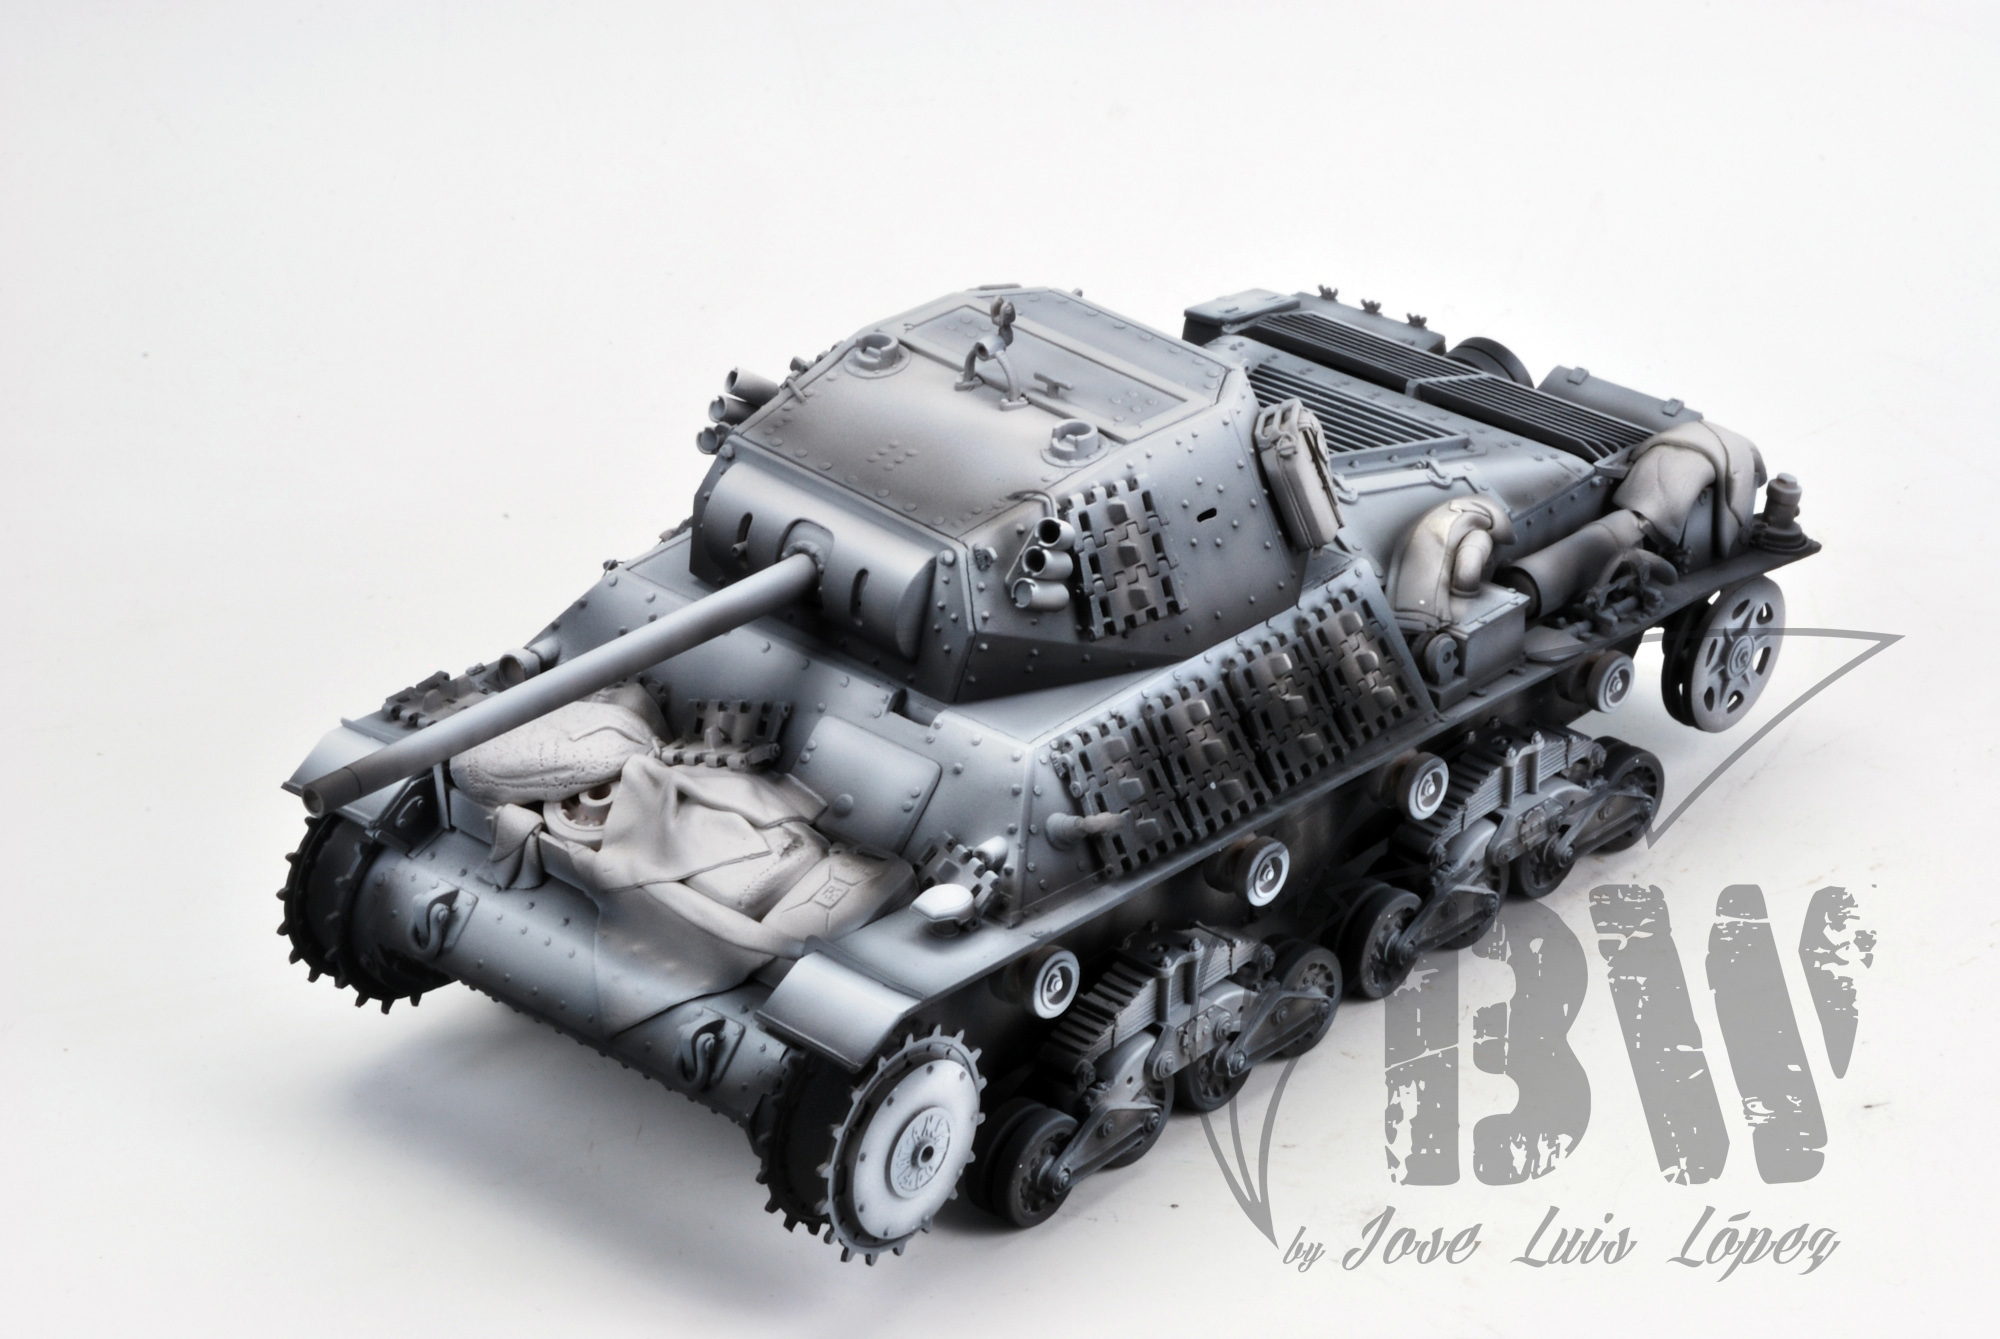
As usually, we´ll start priming the kit. I know, I´m really insistent with this, but it´s so important! All the forthcoming steps depend on a nice and smooth surface free of debris, dried primer or dust.
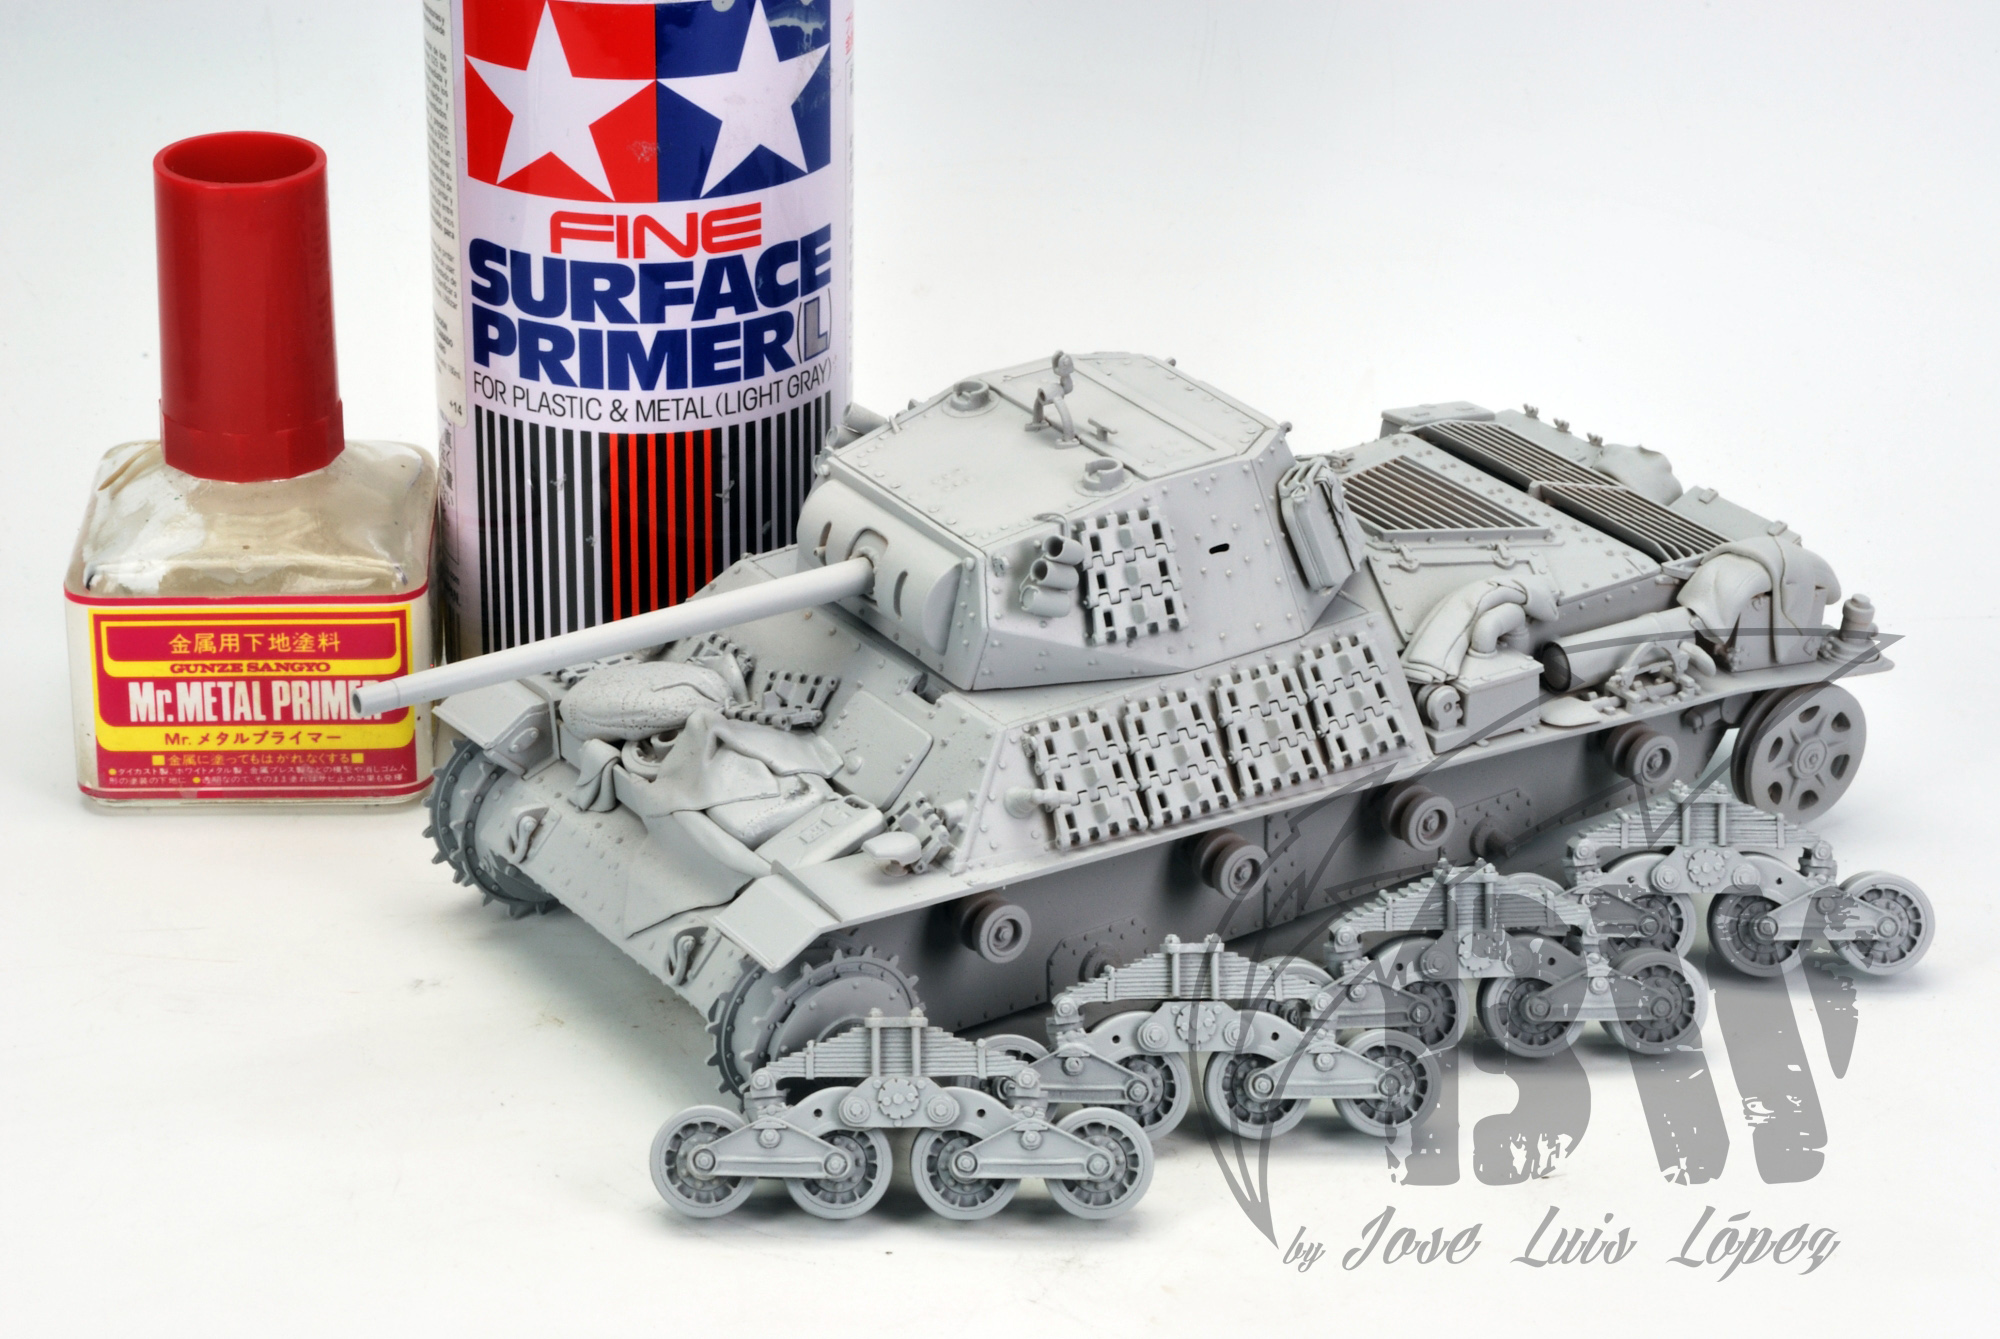
This is a very important step. Priming the tank not only allow us to detect assembling defects but also provides us a homogeneous base color to start painting our kit. We need also to protect metal parts as they´re prone to peel off the paint applied over them. So, I particularly recommend applying Tamiya´s metal&plastic primer (airbrushed all over the kit) and Metal primer from Gunze Sangyo, applied with a brush directly over metal parts prior using the Tamiya´s primer.
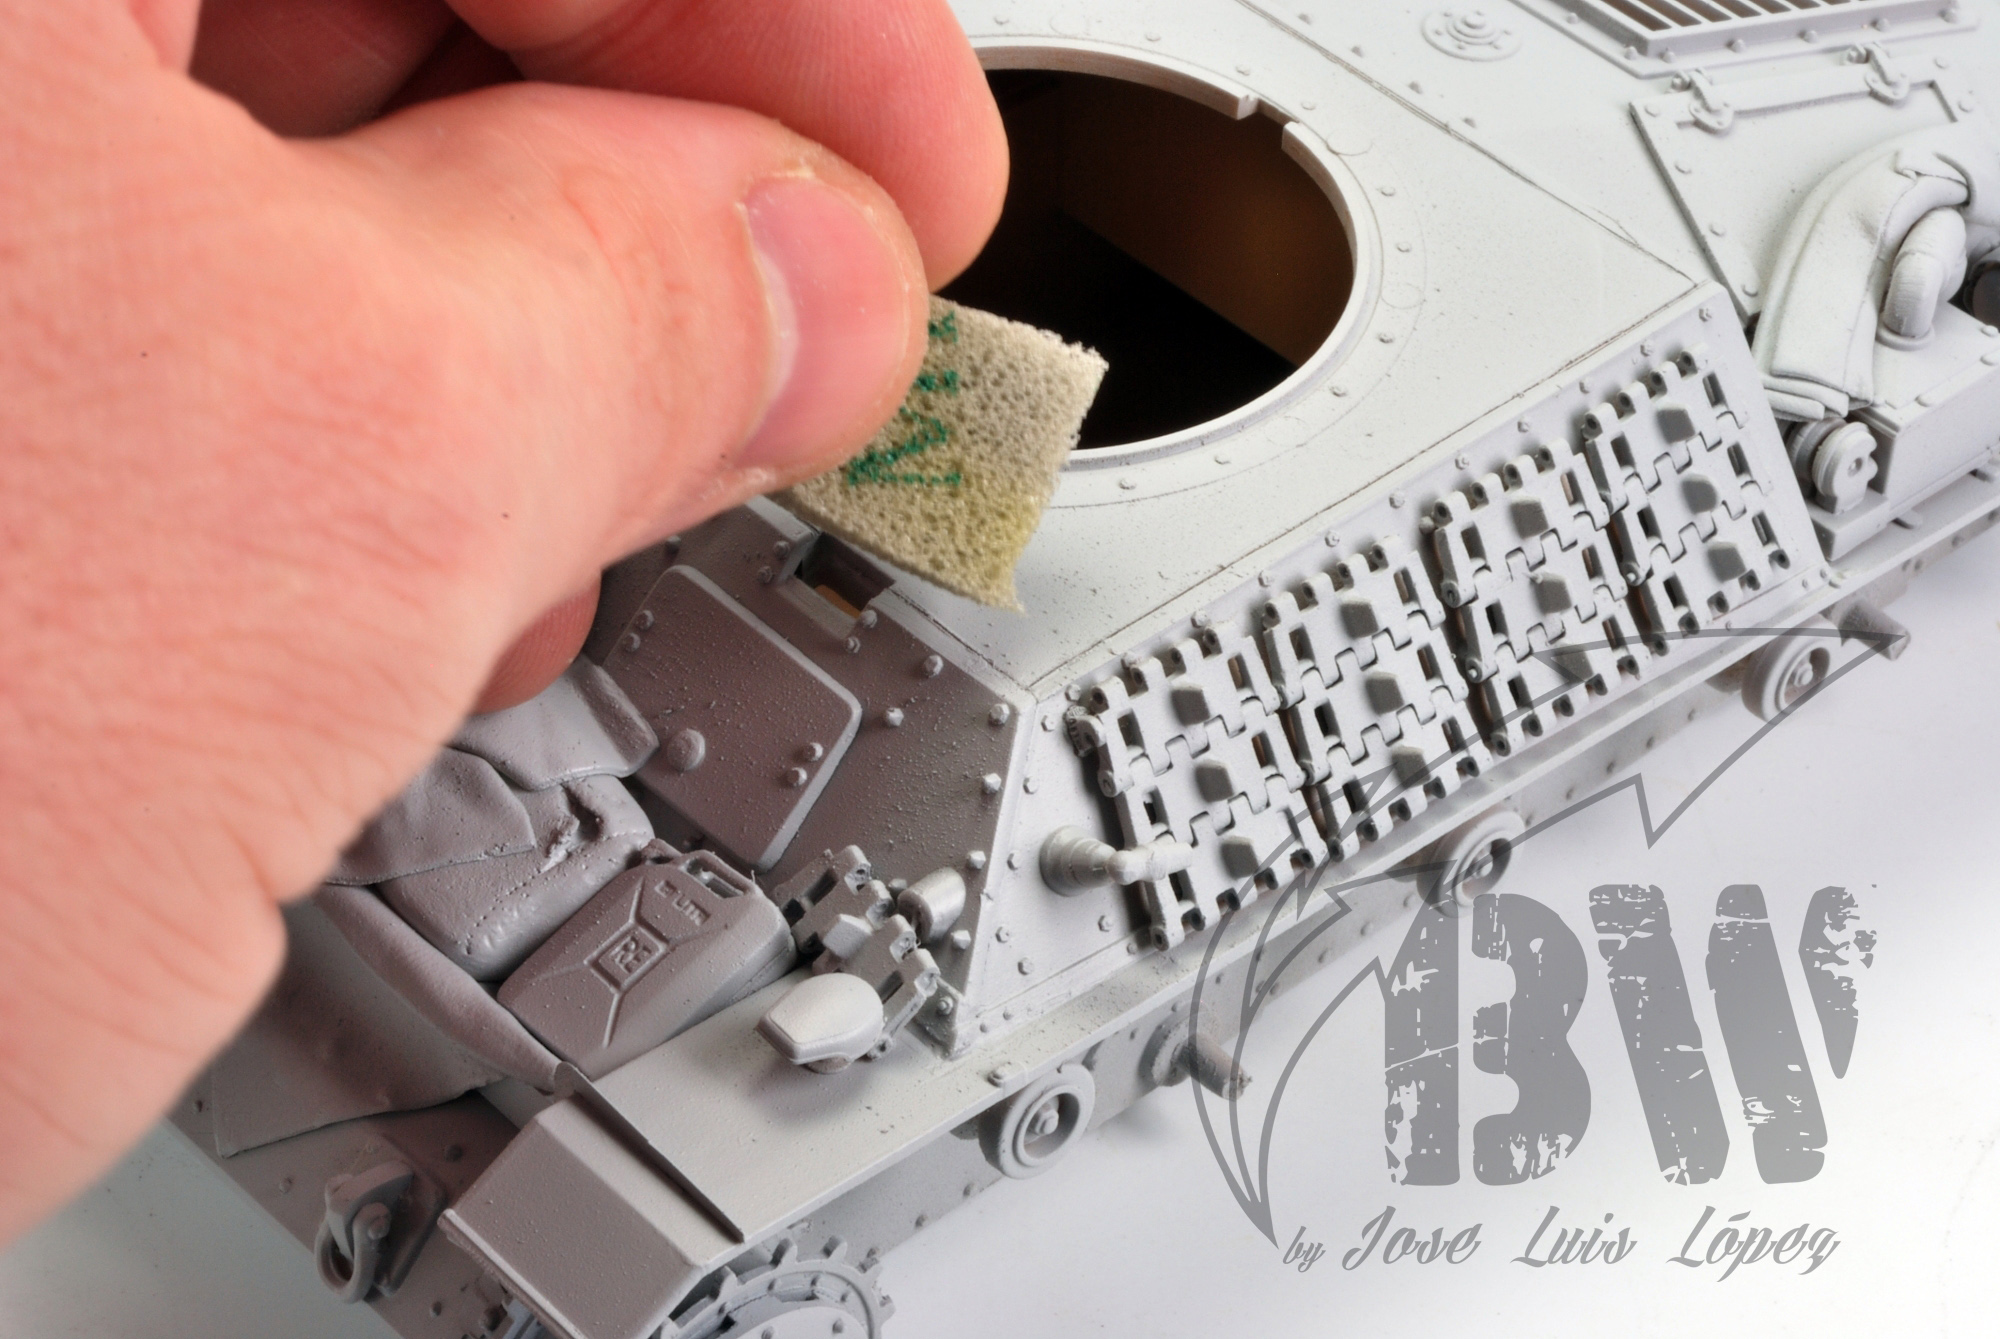
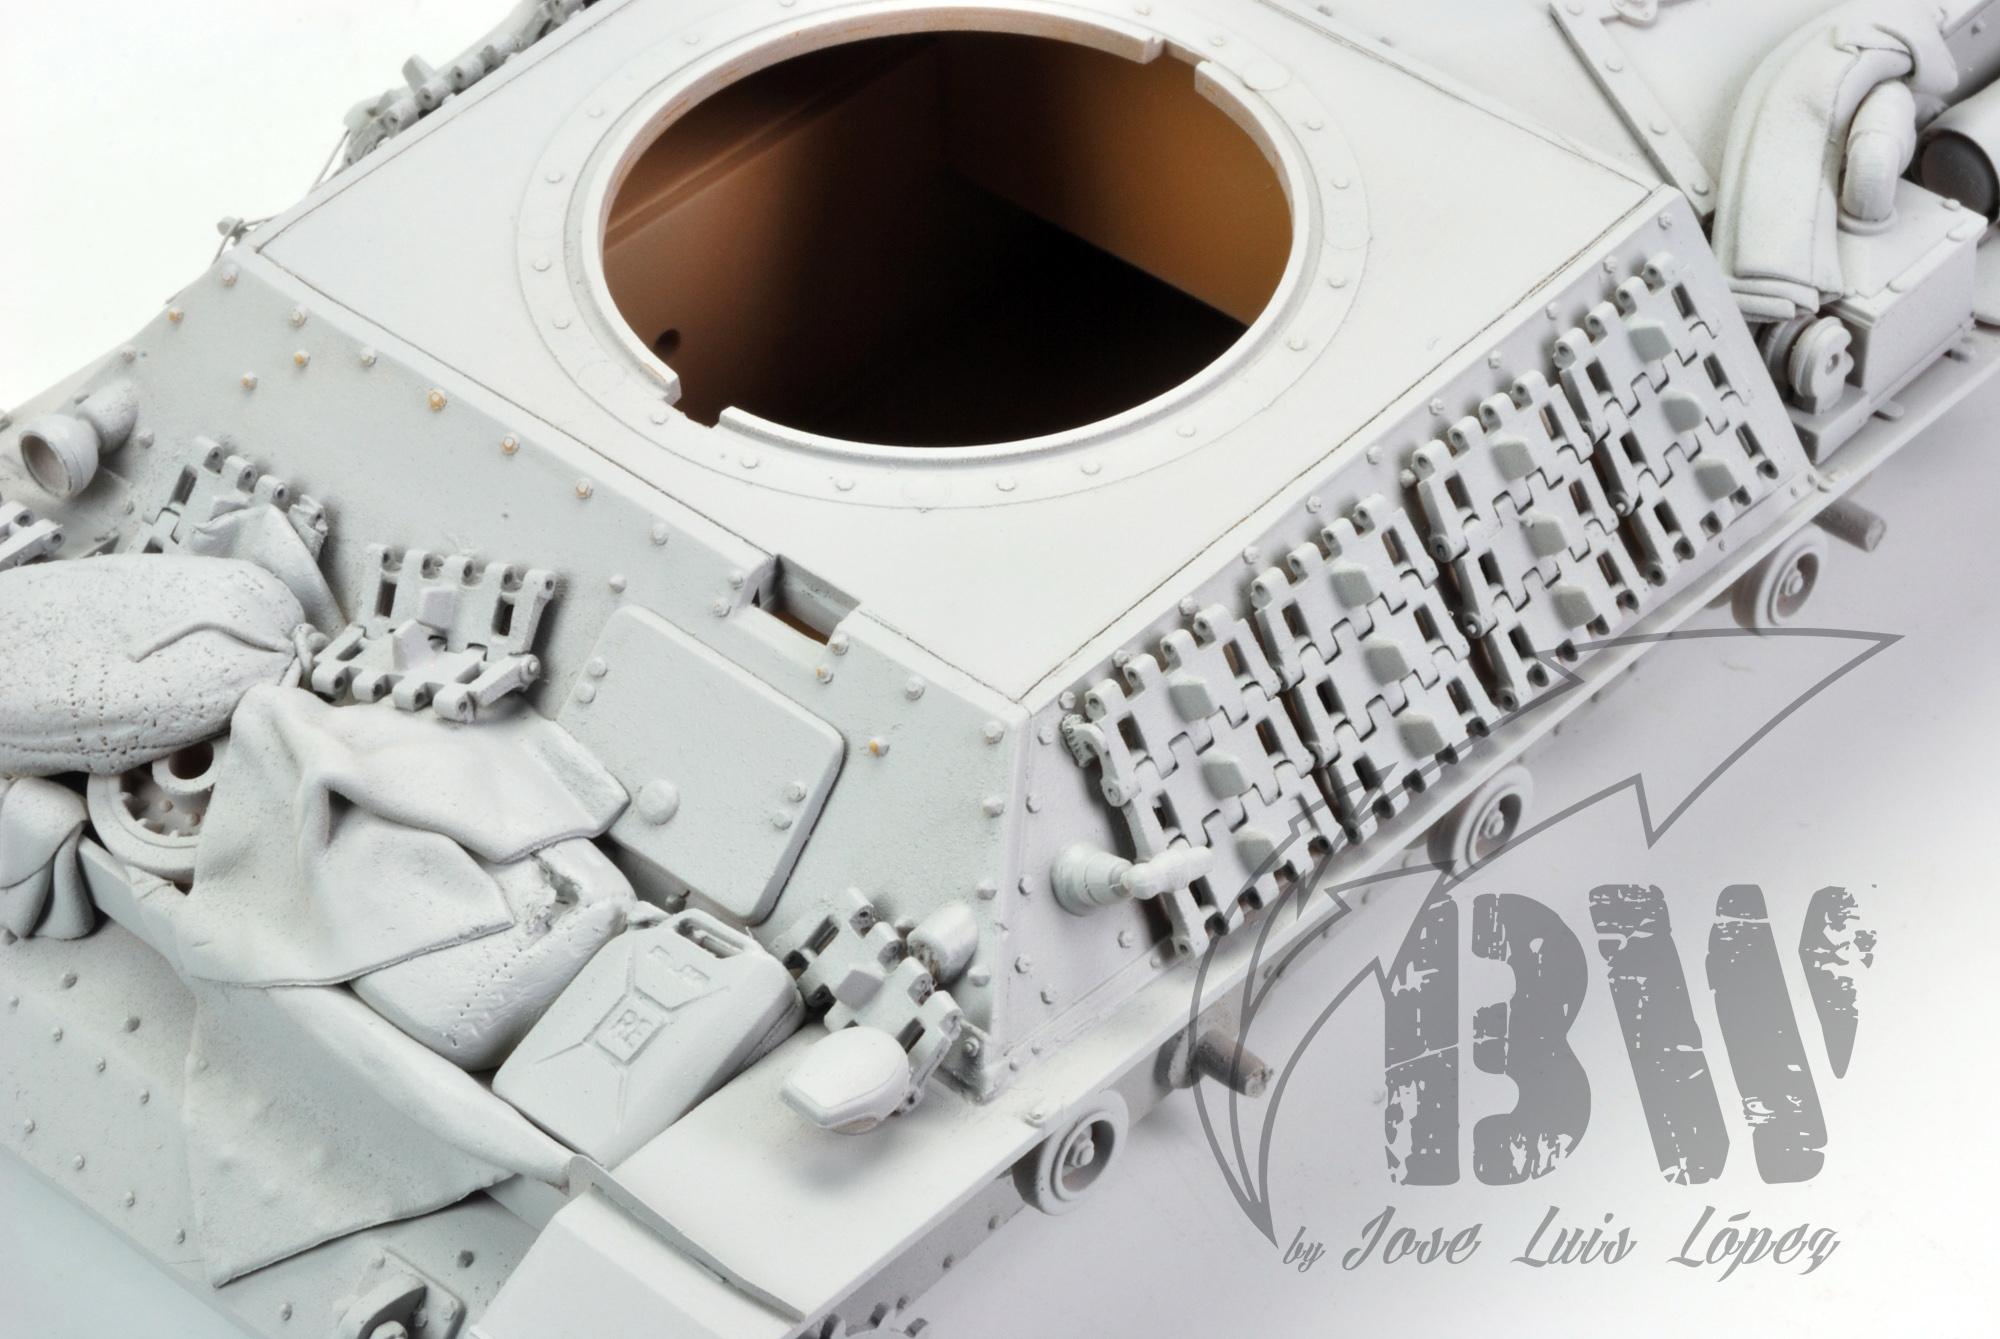
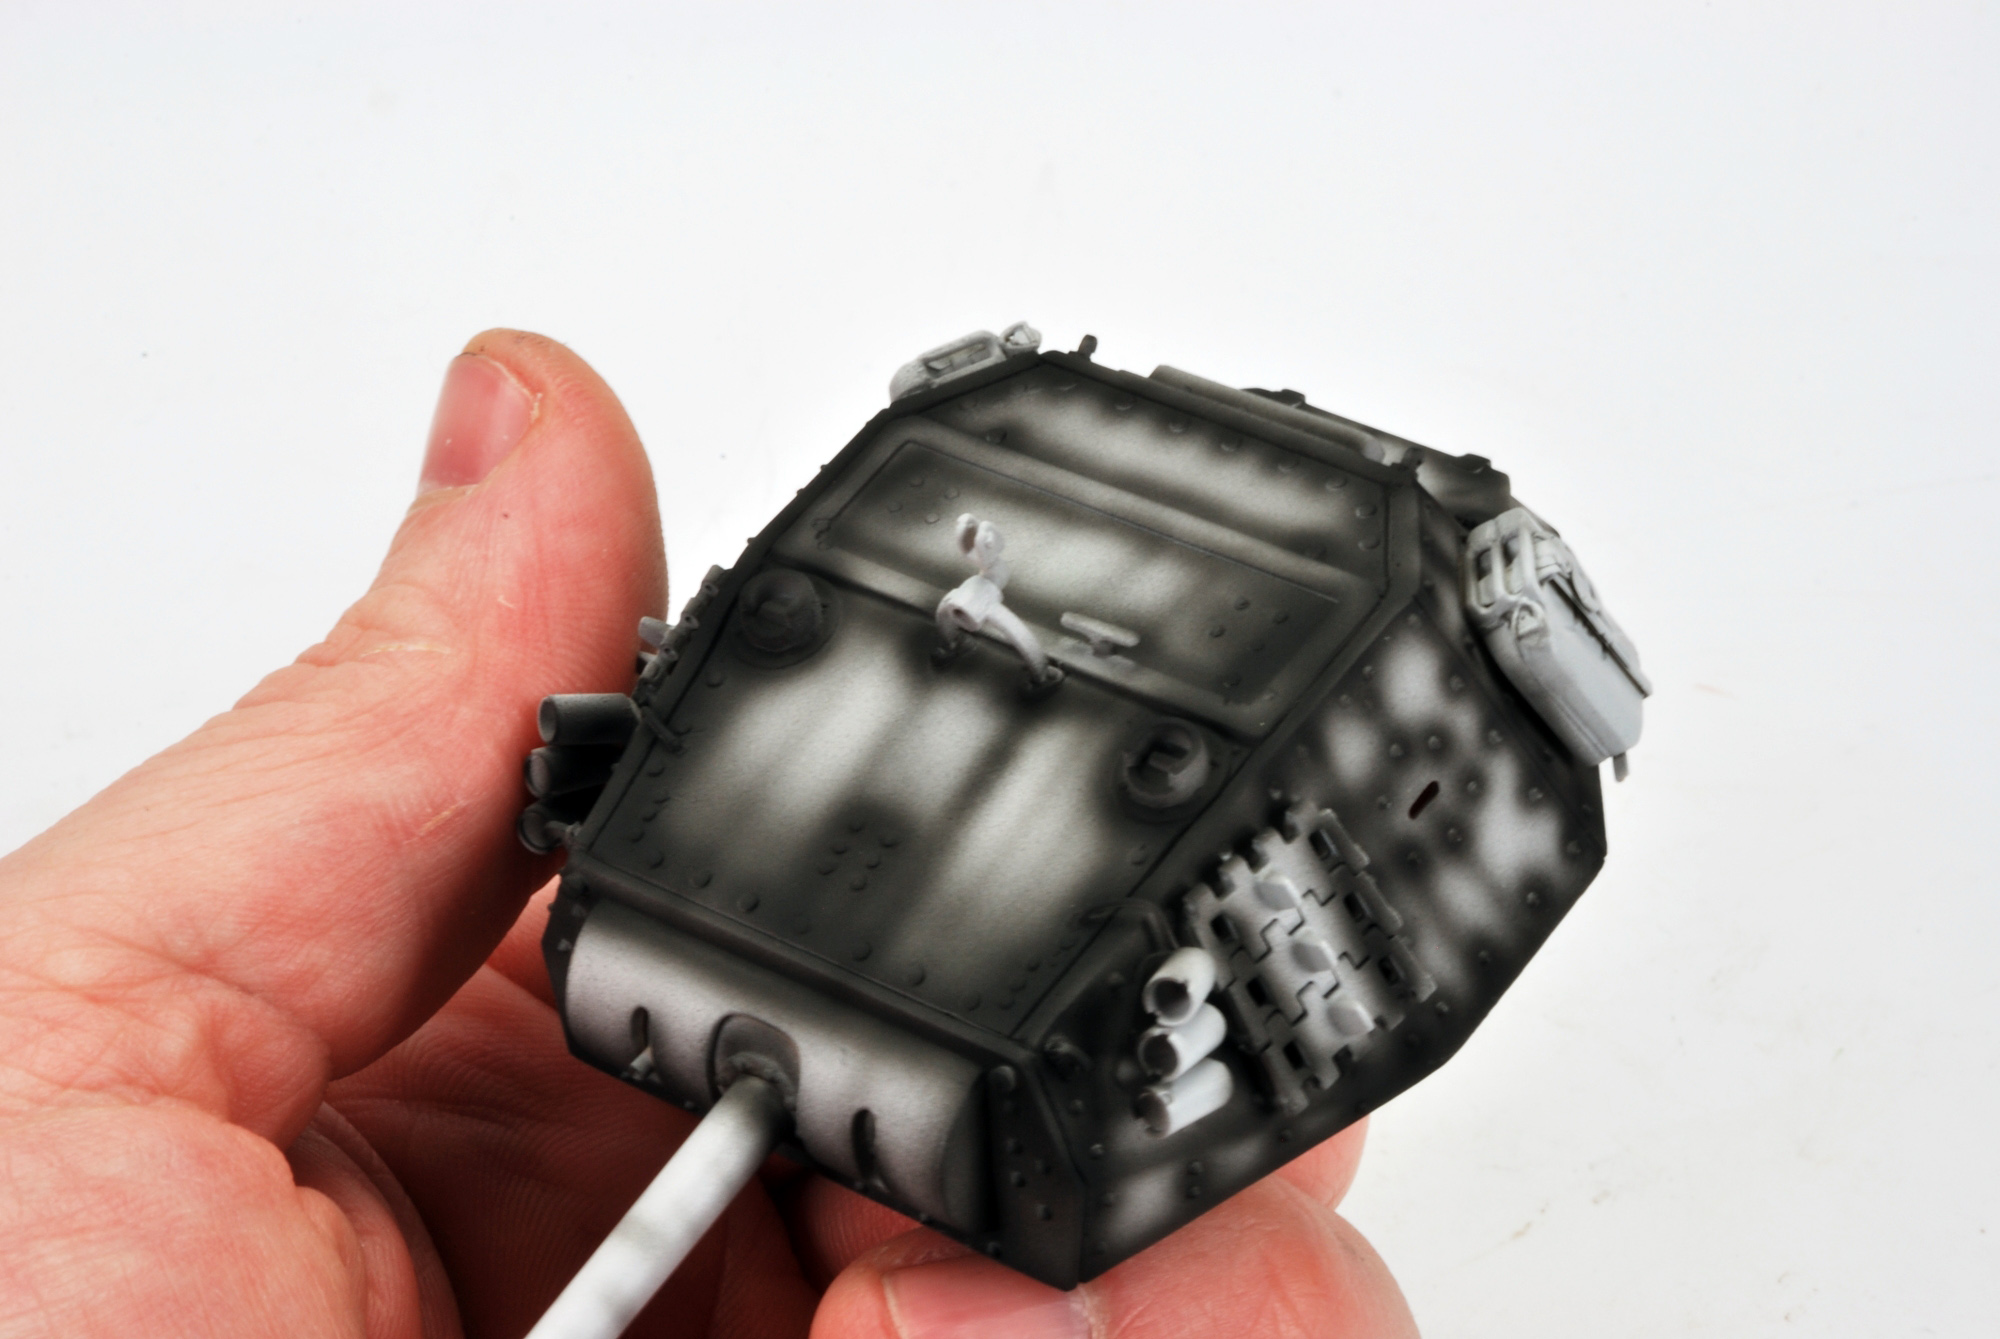
Special care should be taken when you´re priming your tank! Sometimes, due to the lack of humidity in the air or other factors, the paint gets dry before it reach the tanks surfaces and we get an awful granulated surface as can be seen on the picture. It´s called “orange skin”, and it´s one of modelers worst enemy. If we want a smooth surface on our tank, we must remove this orange skin. For this task, you can use a ultrafine sandpaper as you can see in the pictures to get the desired smooth surface. A granulated surface will ruin your work.
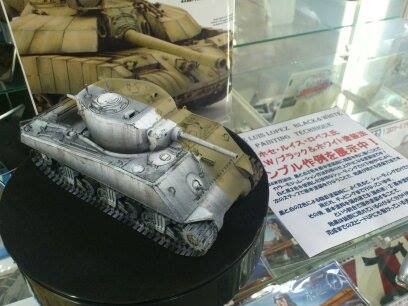
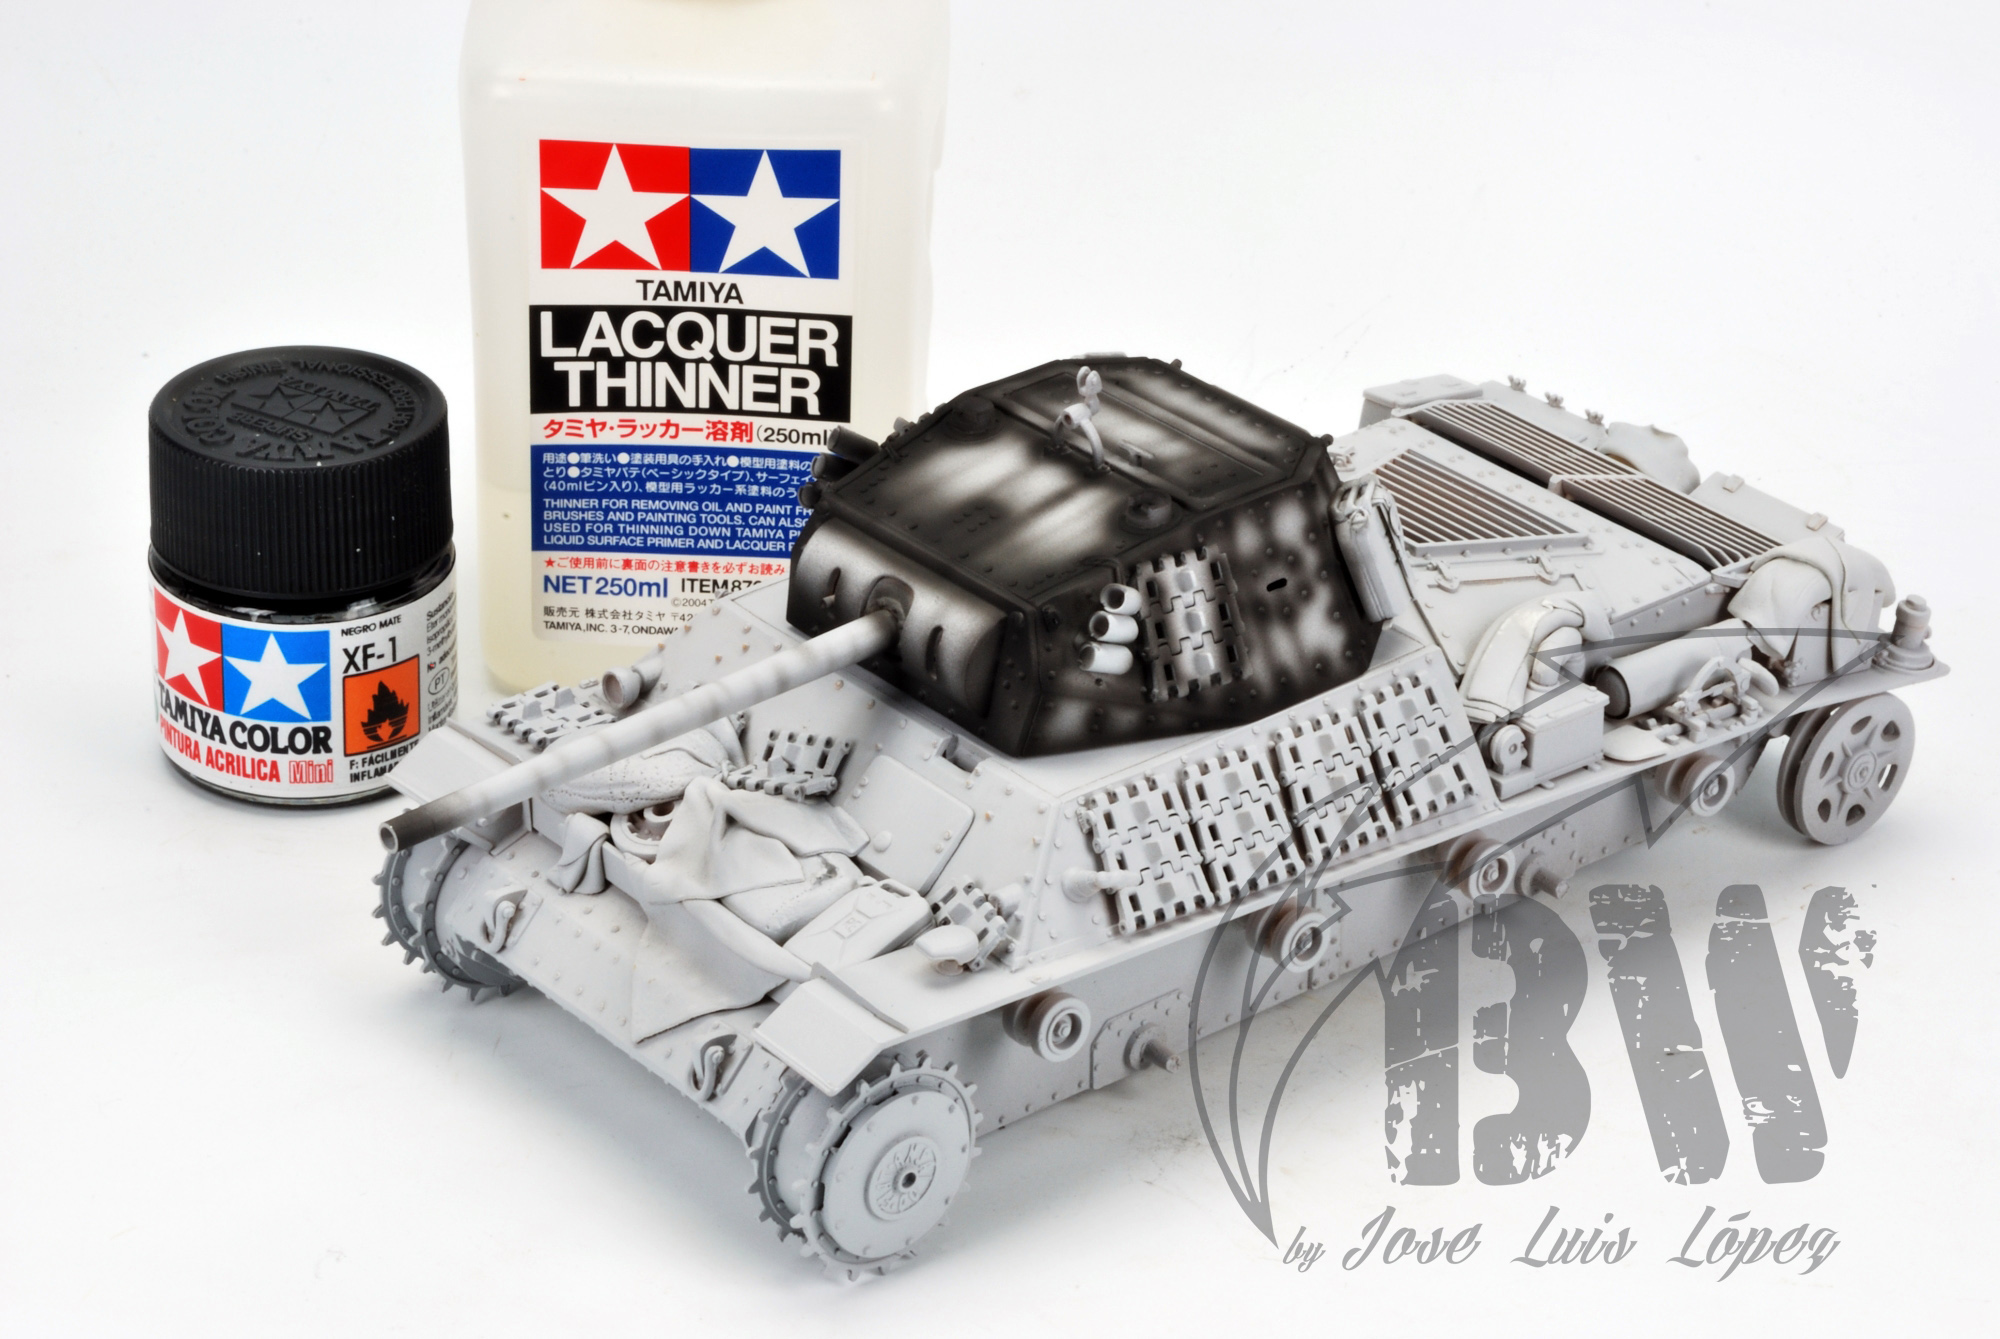
Now, it´s time to paint the B&W base. For this task, you´ll just need white and black paint colors and 3 or 4 intermediate grey shades to achieve the desired result. I use the airbrush paint very thinned, 30% paint, 70% thinner, and pressure about 1,50 Kg/cm2, but I strongly recommend modelers to find their best painting thinner-pressure combination.
First at all, using pure black paint (just because the camo colors are pretty dark, if you´re going to apply a light camo using sand, dark yellow or light colors, the darker grey you must use is similar to a Panzer grey, NEVER pure black), I´ll start making a general pre-shading all over the kit. It´s a well know technique which not only gives the model more depth but also helps to identify the more attractive points of your kit to be highlighted in the following painting steps.
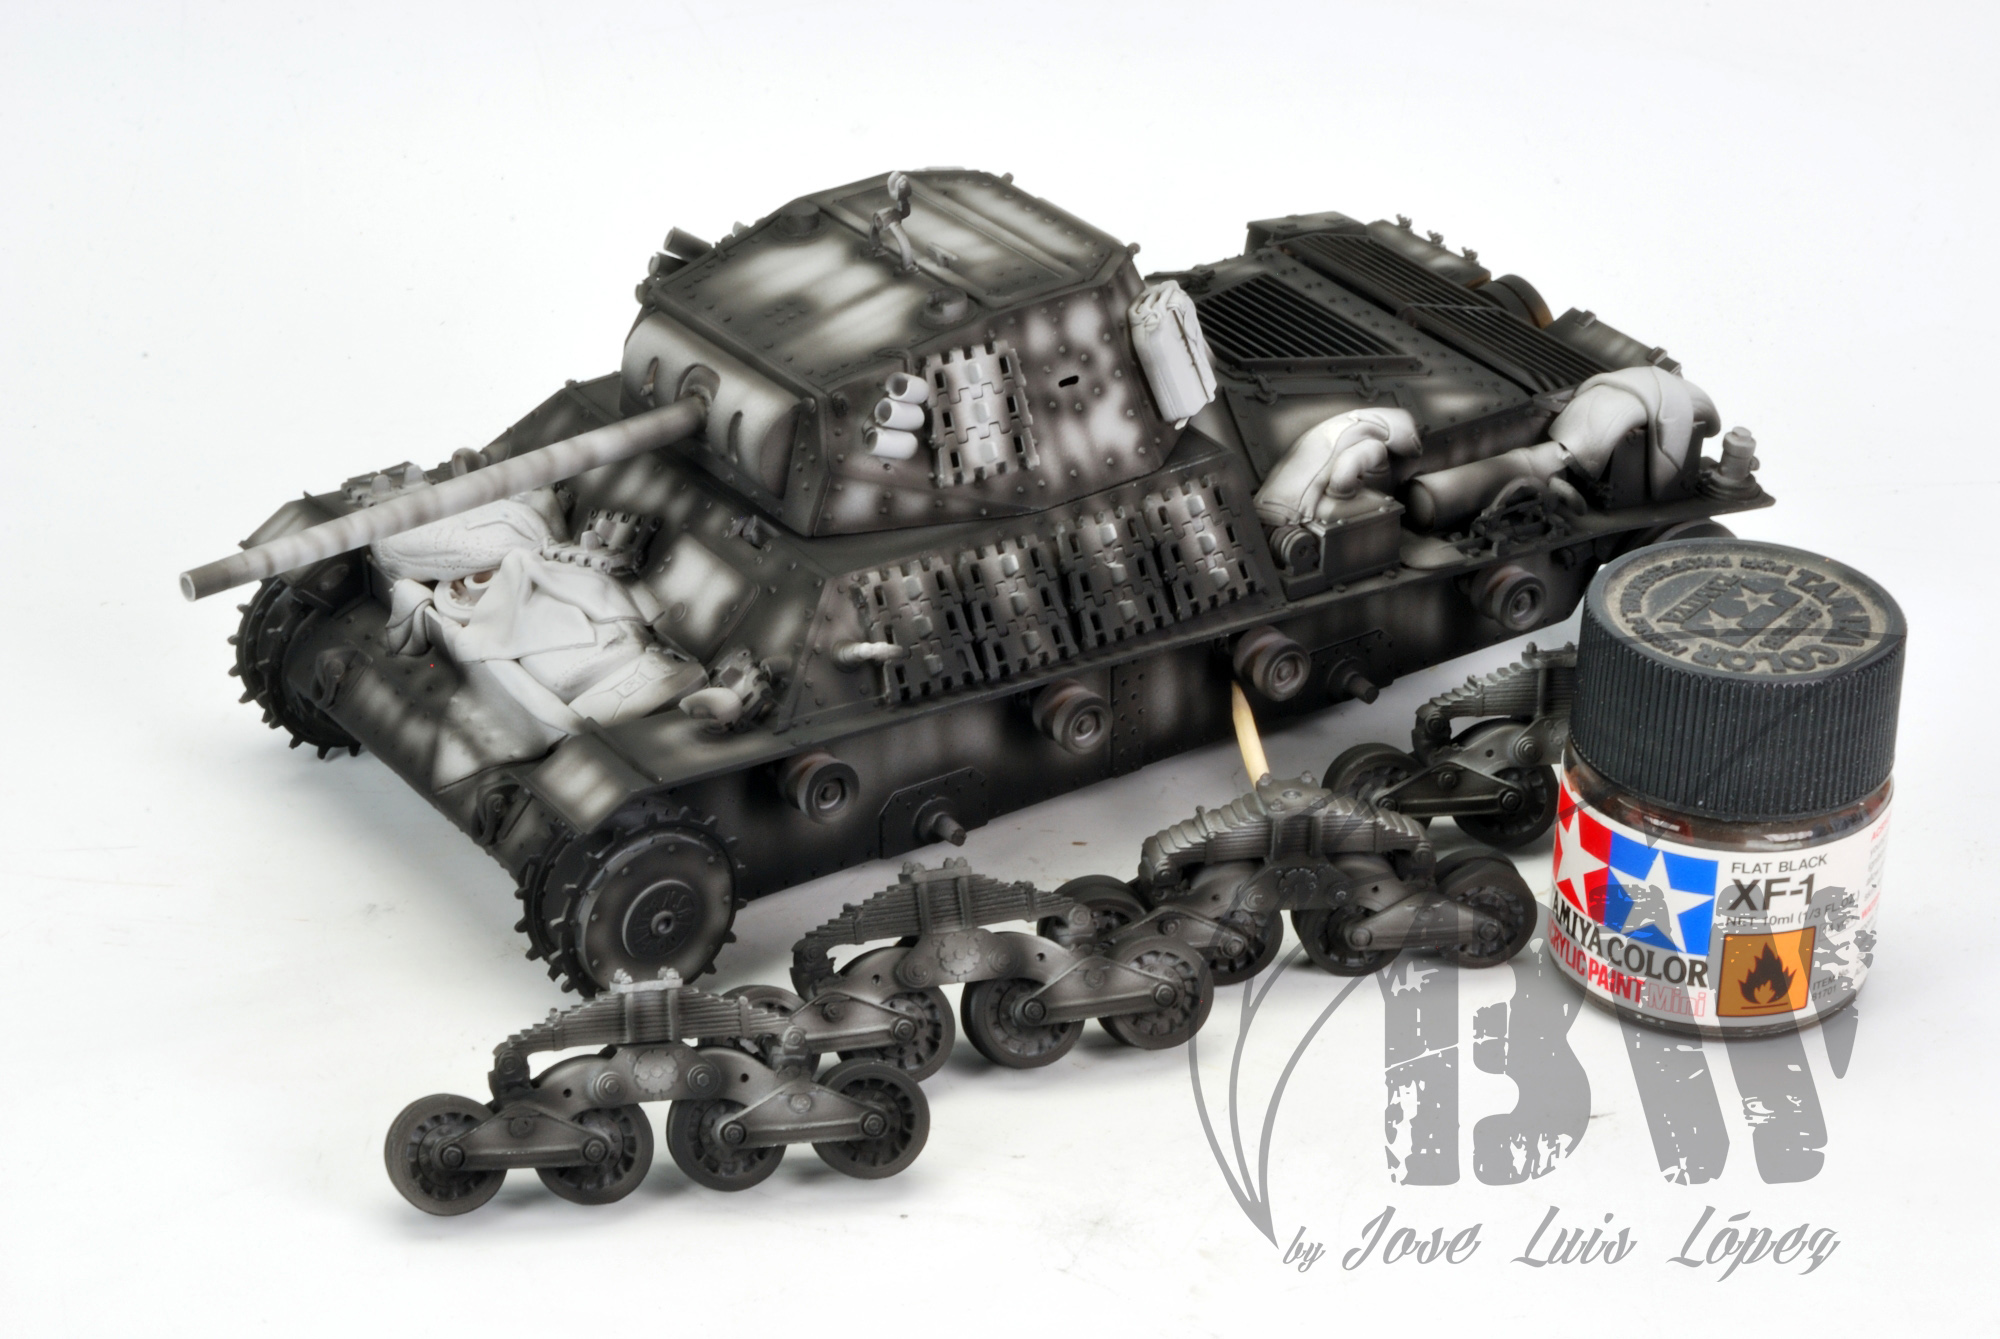
Once the general pre-shading is made, using an intermediate dark grey, I start to reduce the contrast between the neutral grey primer color with the pure black used for the pre-shading, creating more subtle transitions.
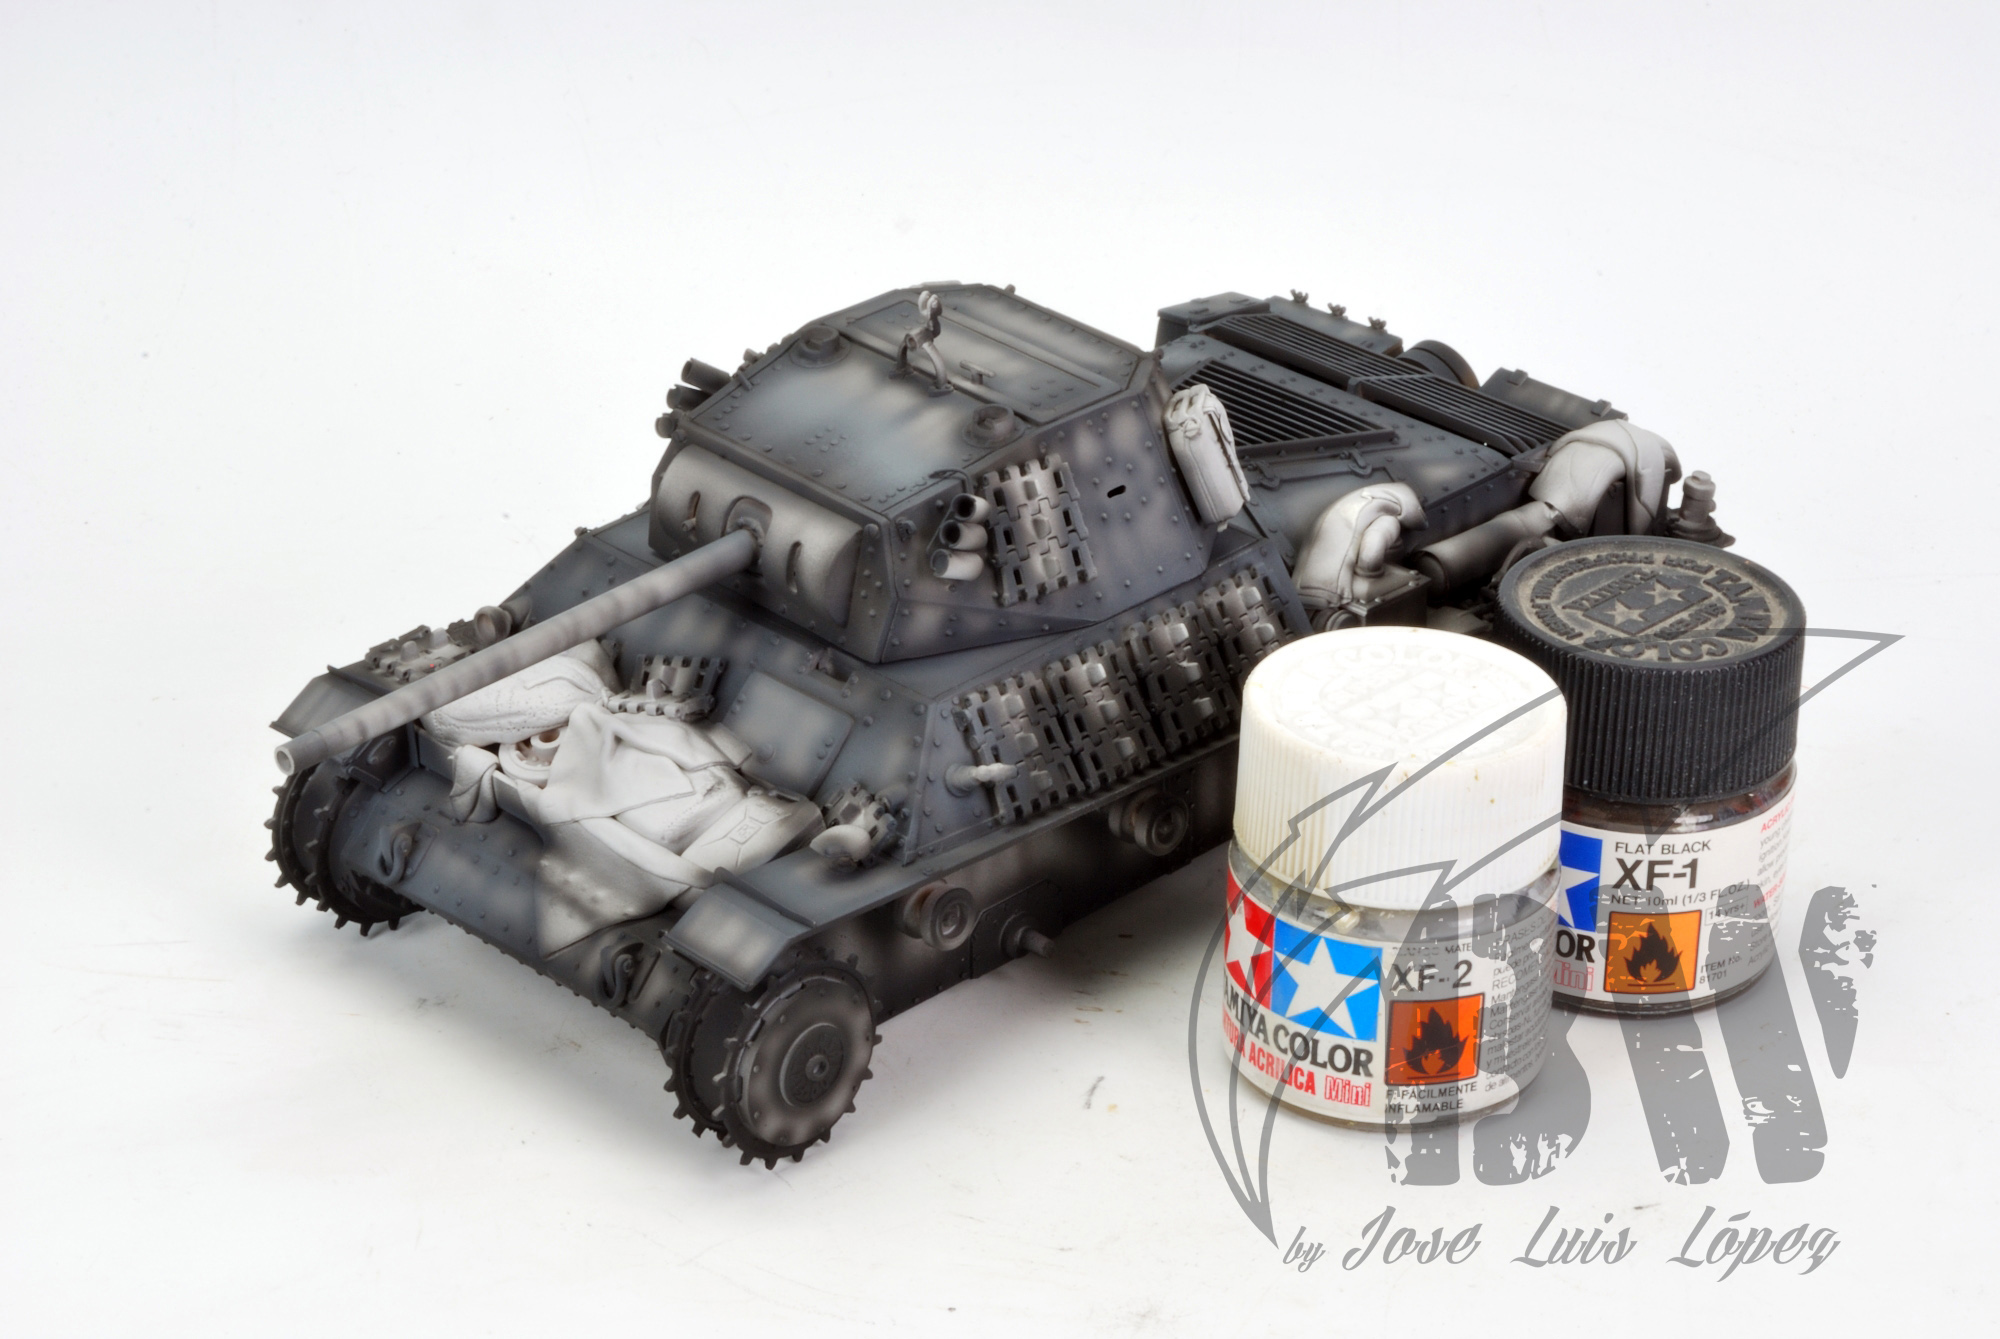
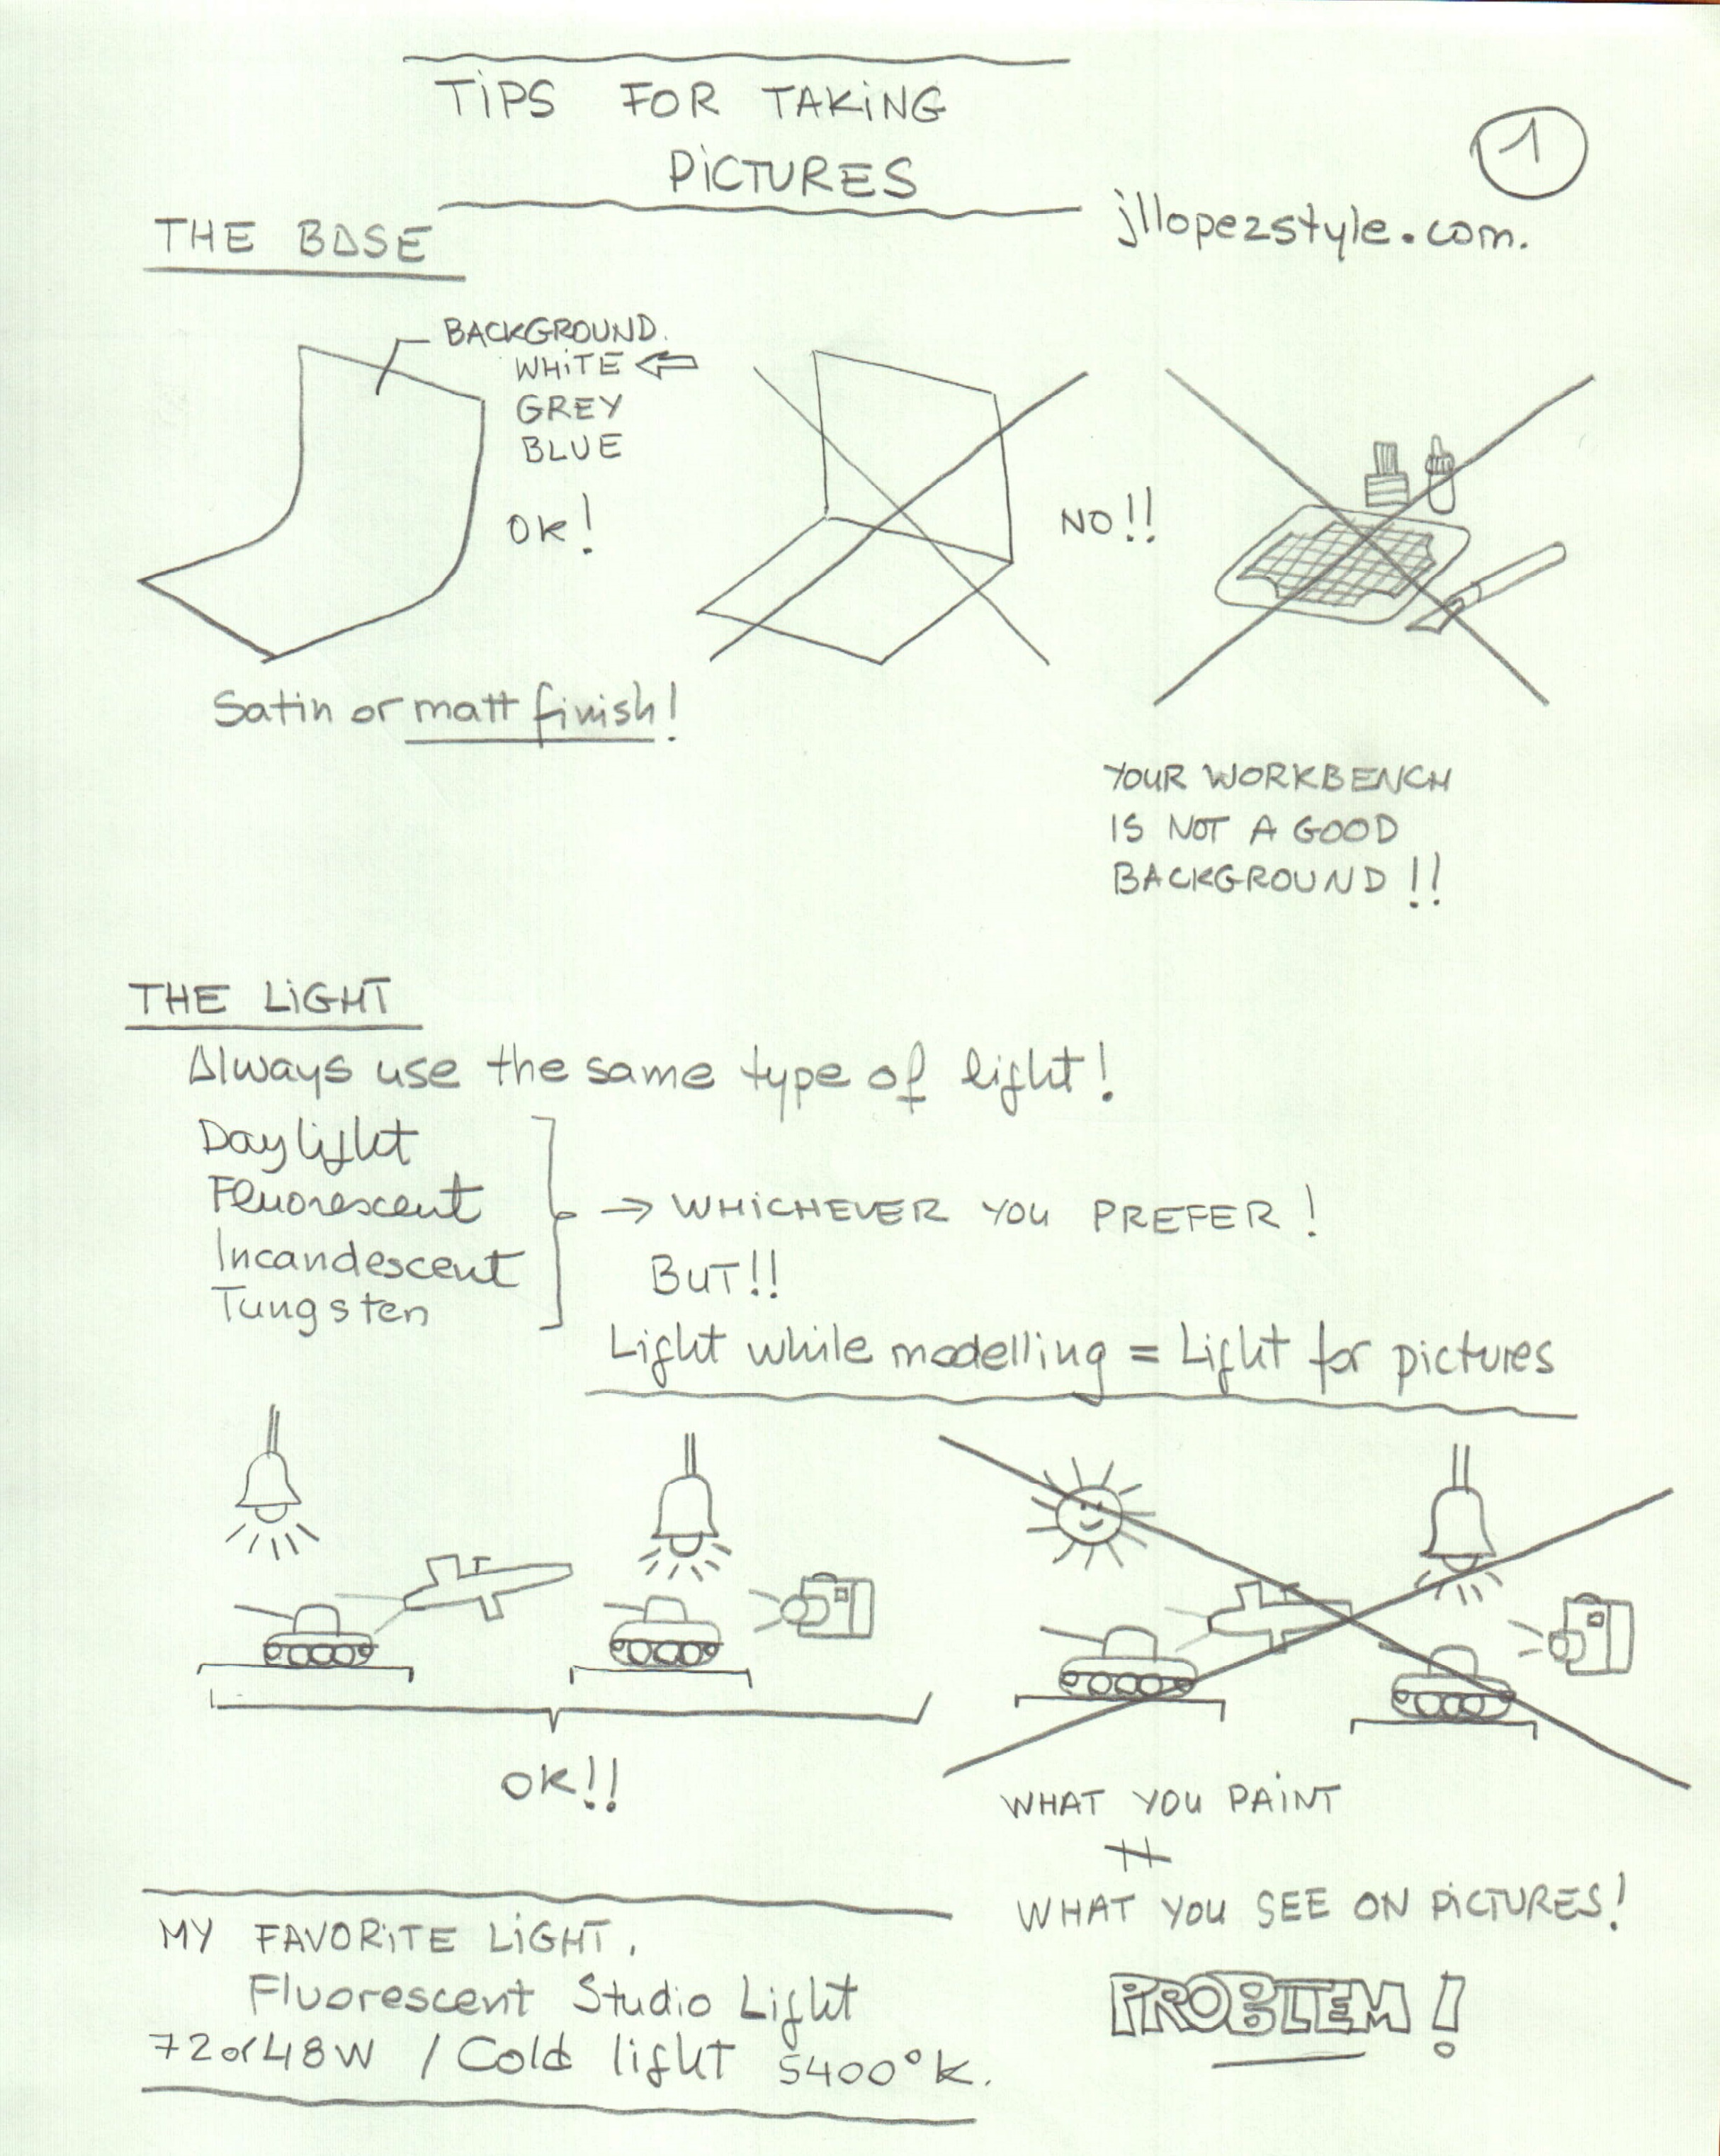
Adding some pure white again to the dark grey, I continue highlighting the kit. Upper and inclined surfaces will have more light incidence so they will be lighter than vertical or other surfaces not directly exposed to light. The best way to know how to paint a B&W base is putting your kit under a vertical light and make some pictures of the kit illuminated in this way. Print them and just use them as a guide once you´re painting your kit. It´s really easy!.
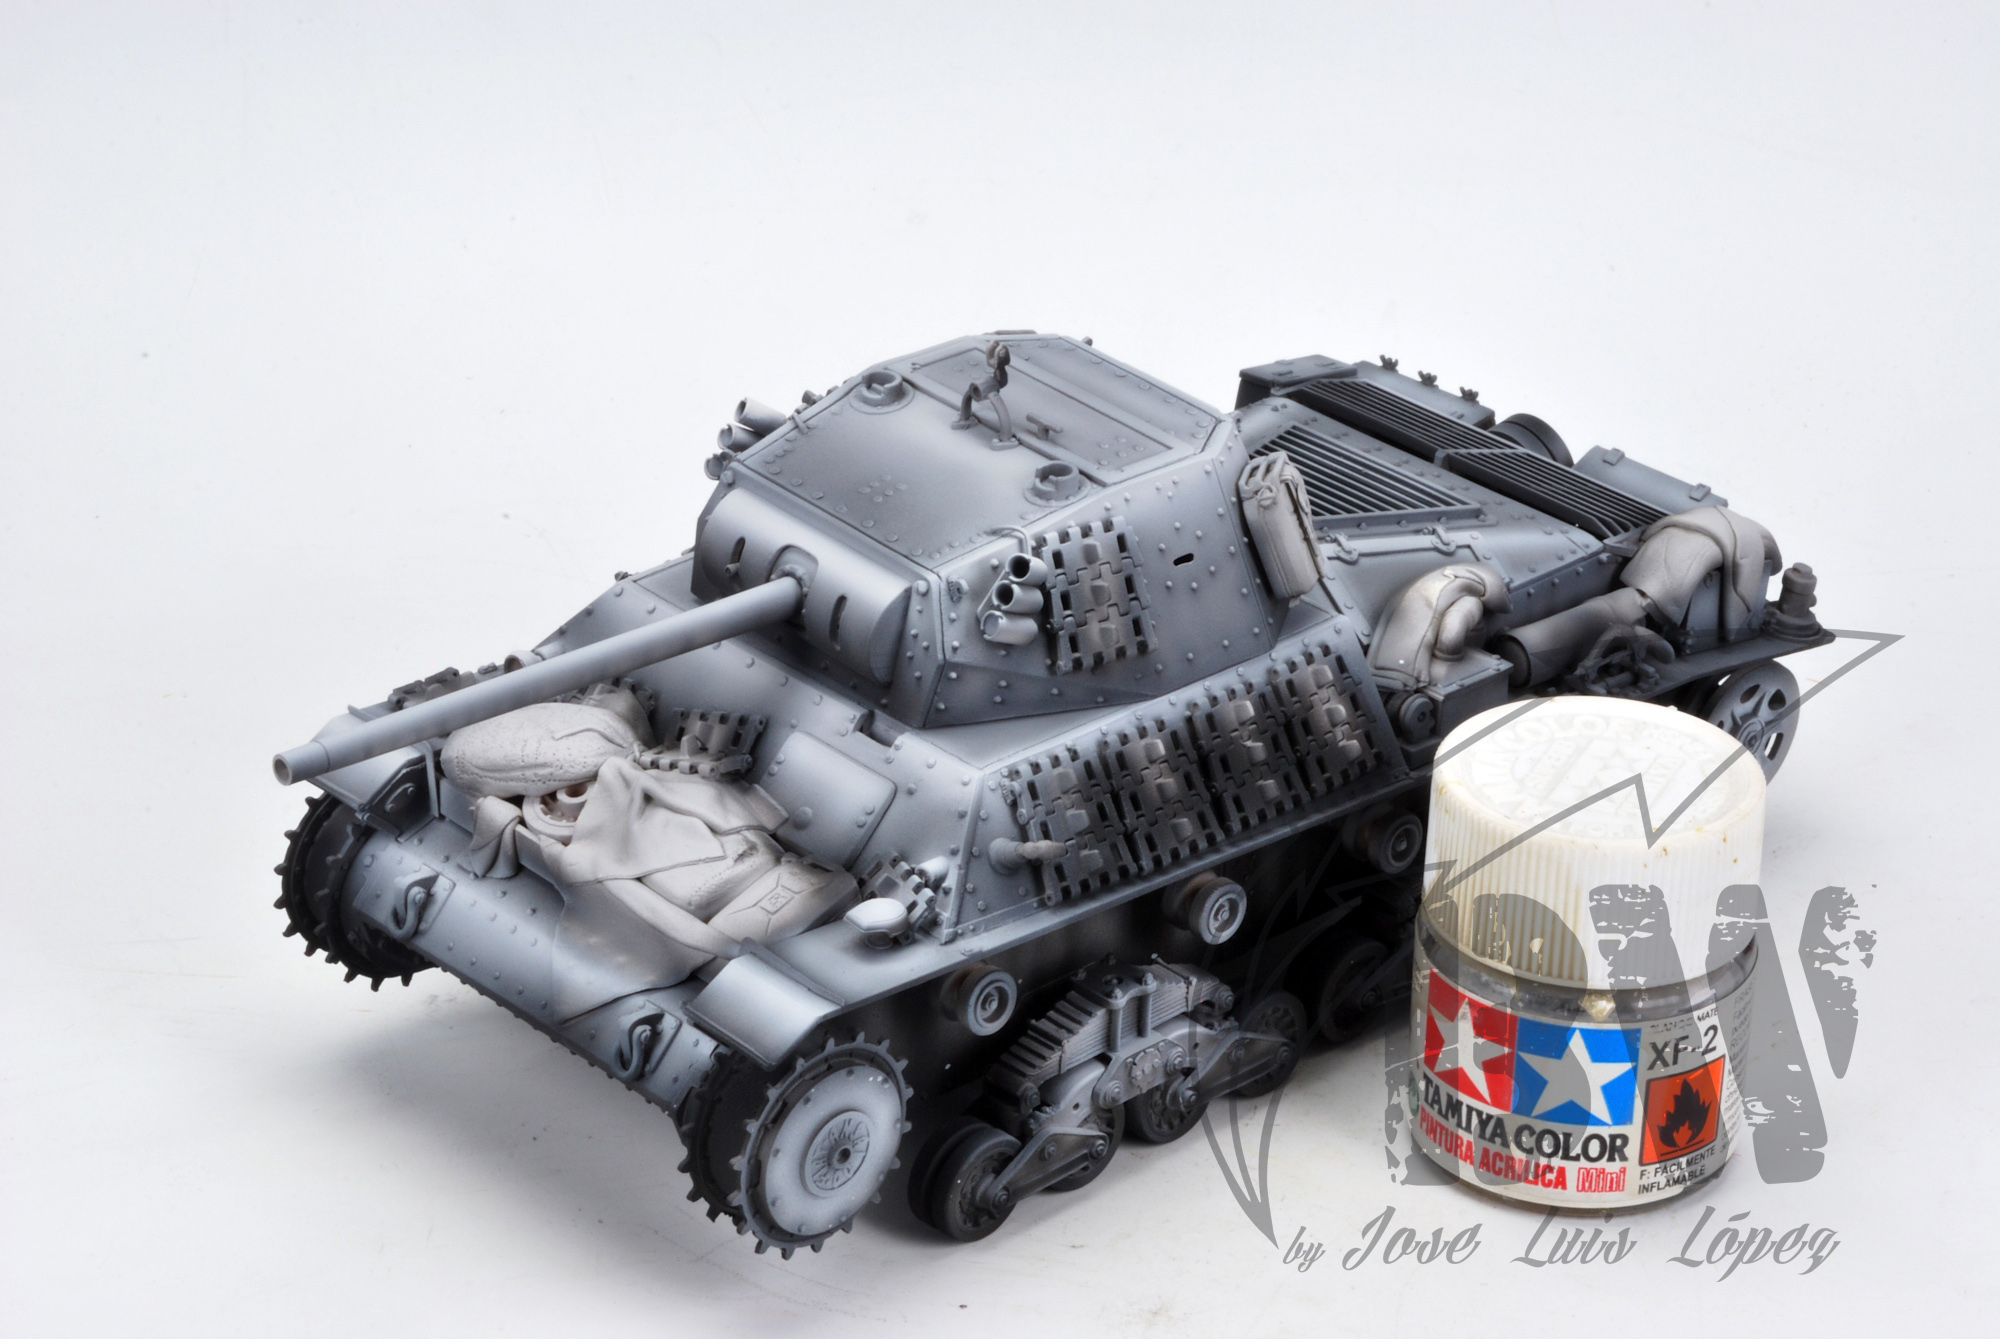
The maximum light and shadow are achieved using pure black and white paint.
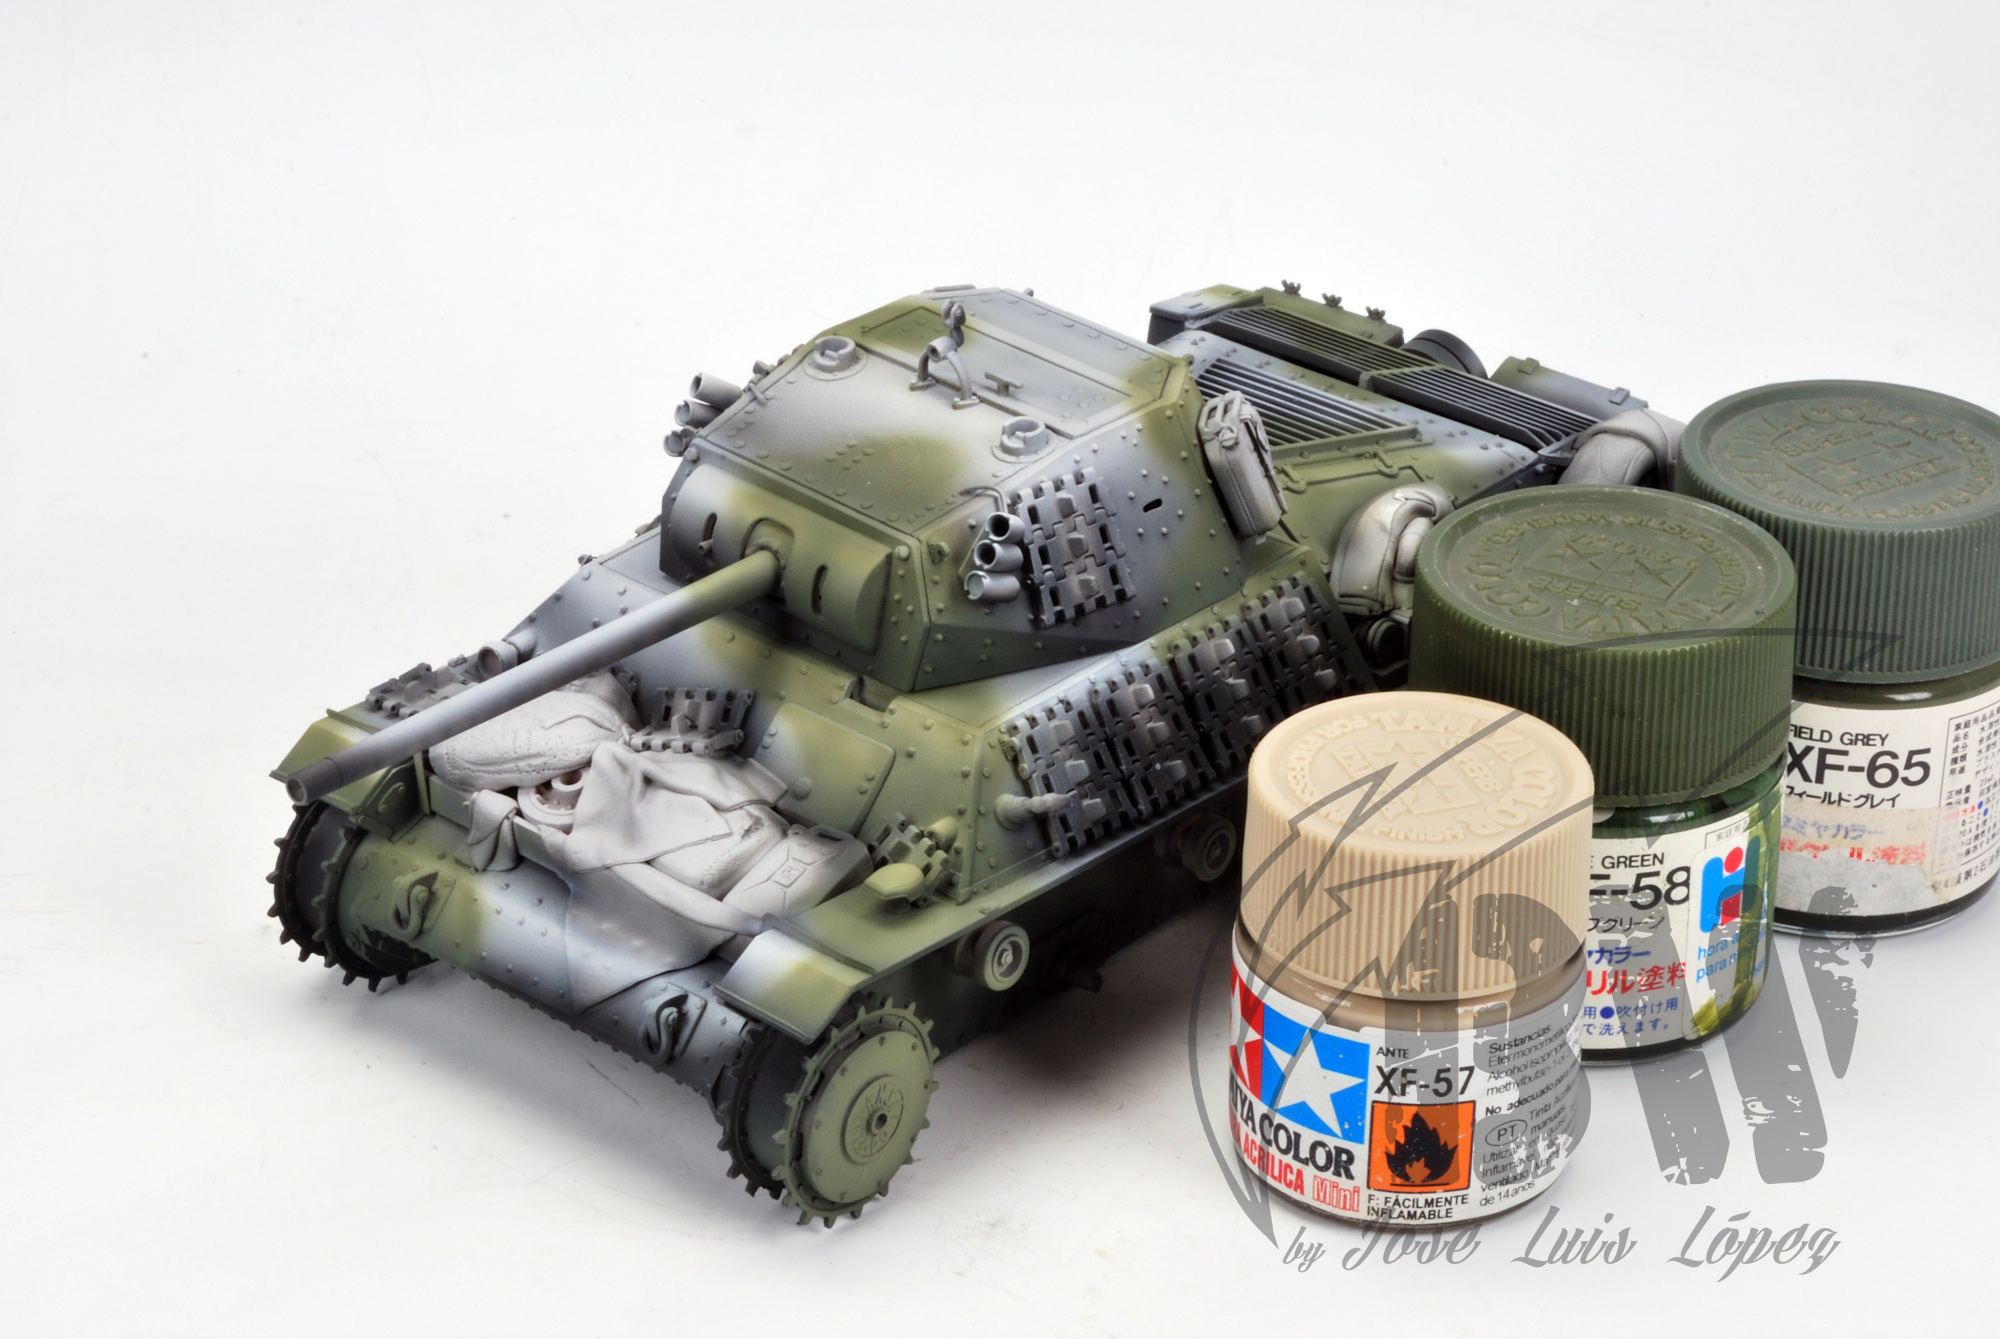
The B&W T is supported on the idea of transparency, so, if you want that the B&W base really works for you, just one color should be used over it. That´s all. So, the general and traditional concept of painting a camouflage pattern on a AFV is not of application here.
In the traditional way, we first paint the lighter color and then, the darker color. And the lighter color is applied all over the kit!. If we paint our B&W tank this color, the allover base color will hide the B&W base in the patches and spots zones as two transparencies will make the B&W base effect disappear.
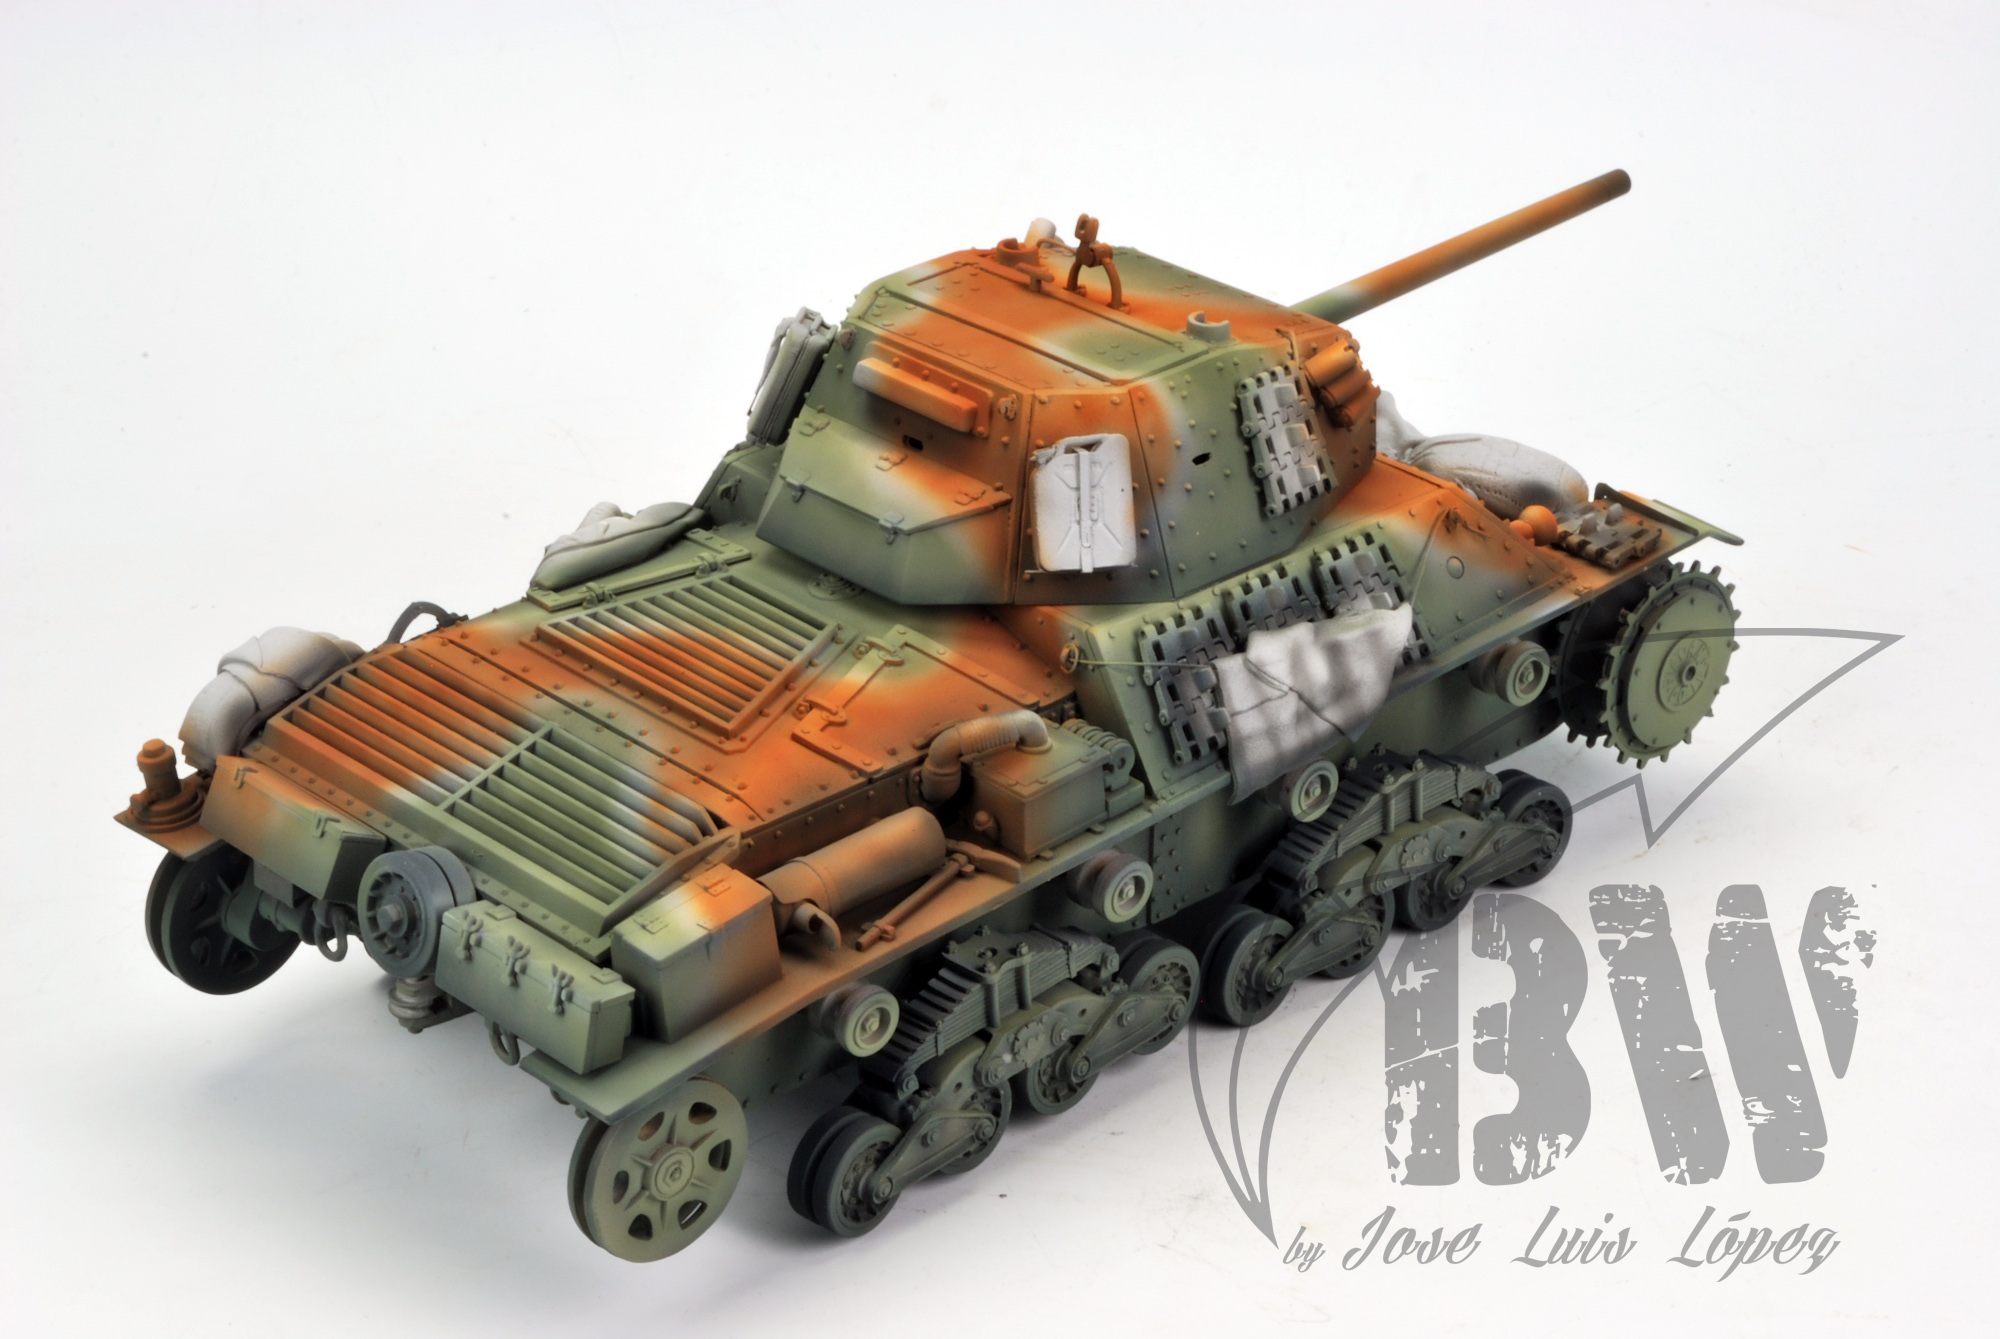
So, each color of the camouflage should be applied just over the place it really goes in the final pattern.
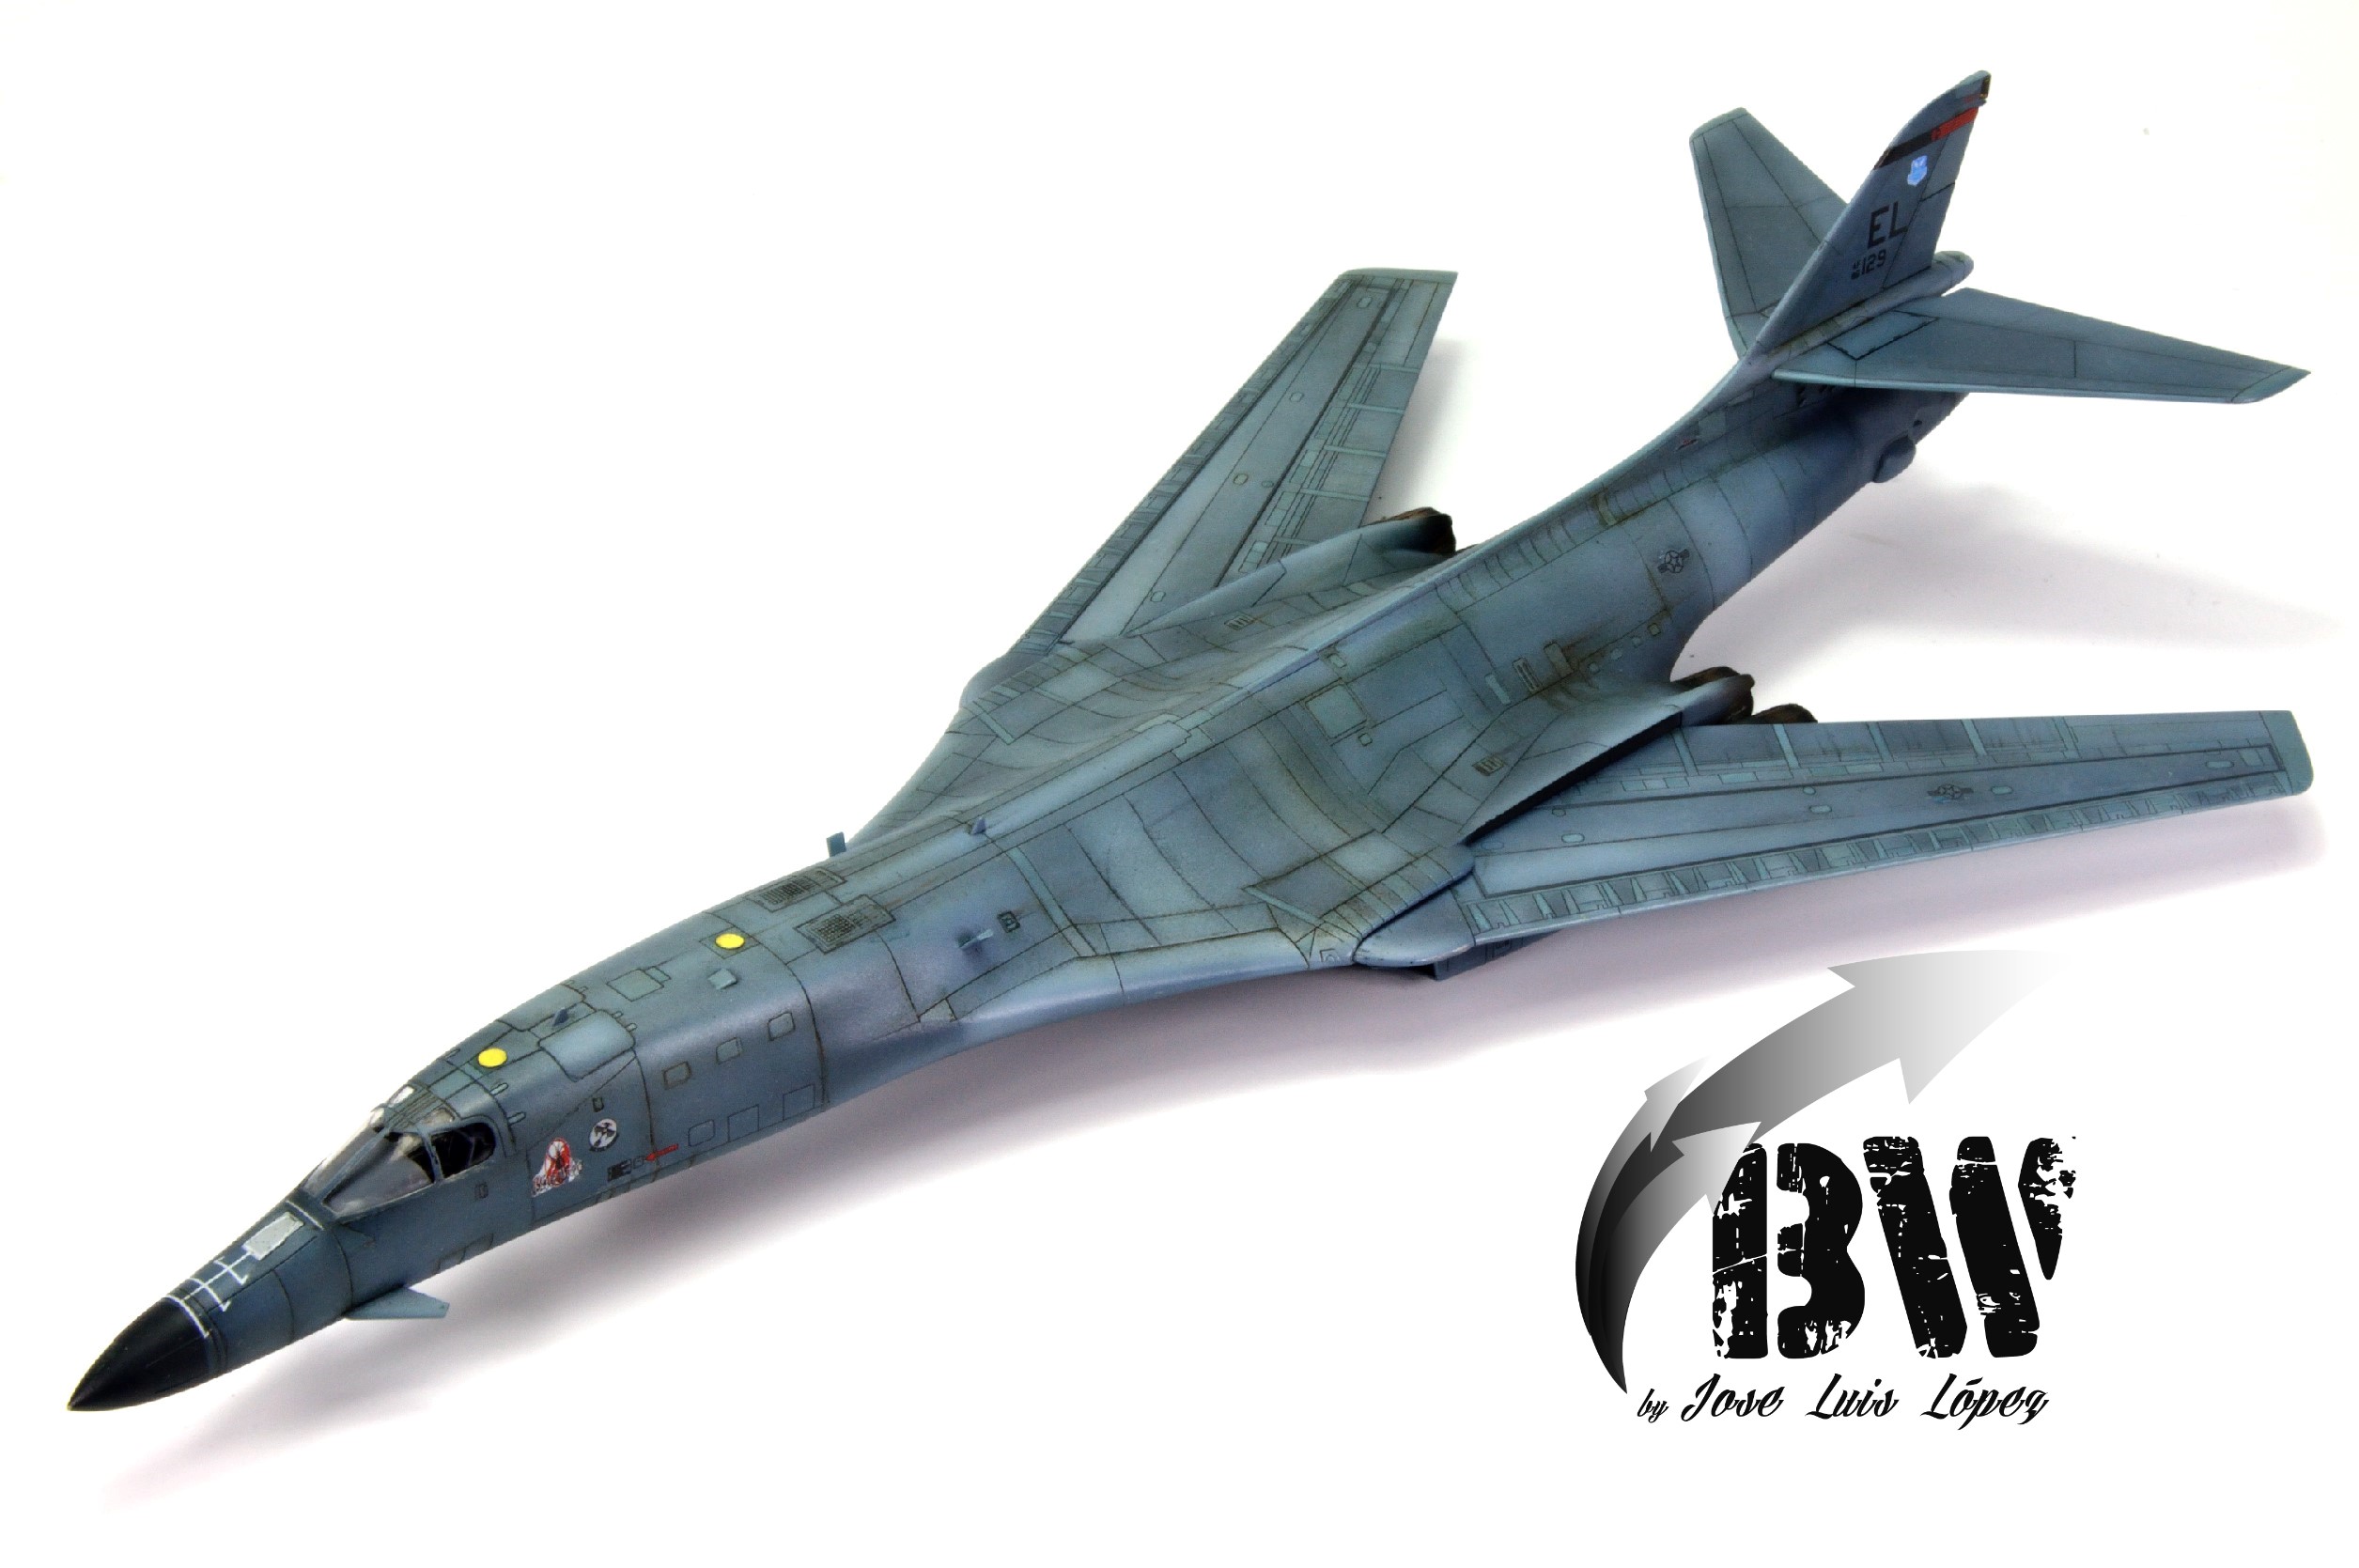
Of course, in single color kits we do not have this problem!
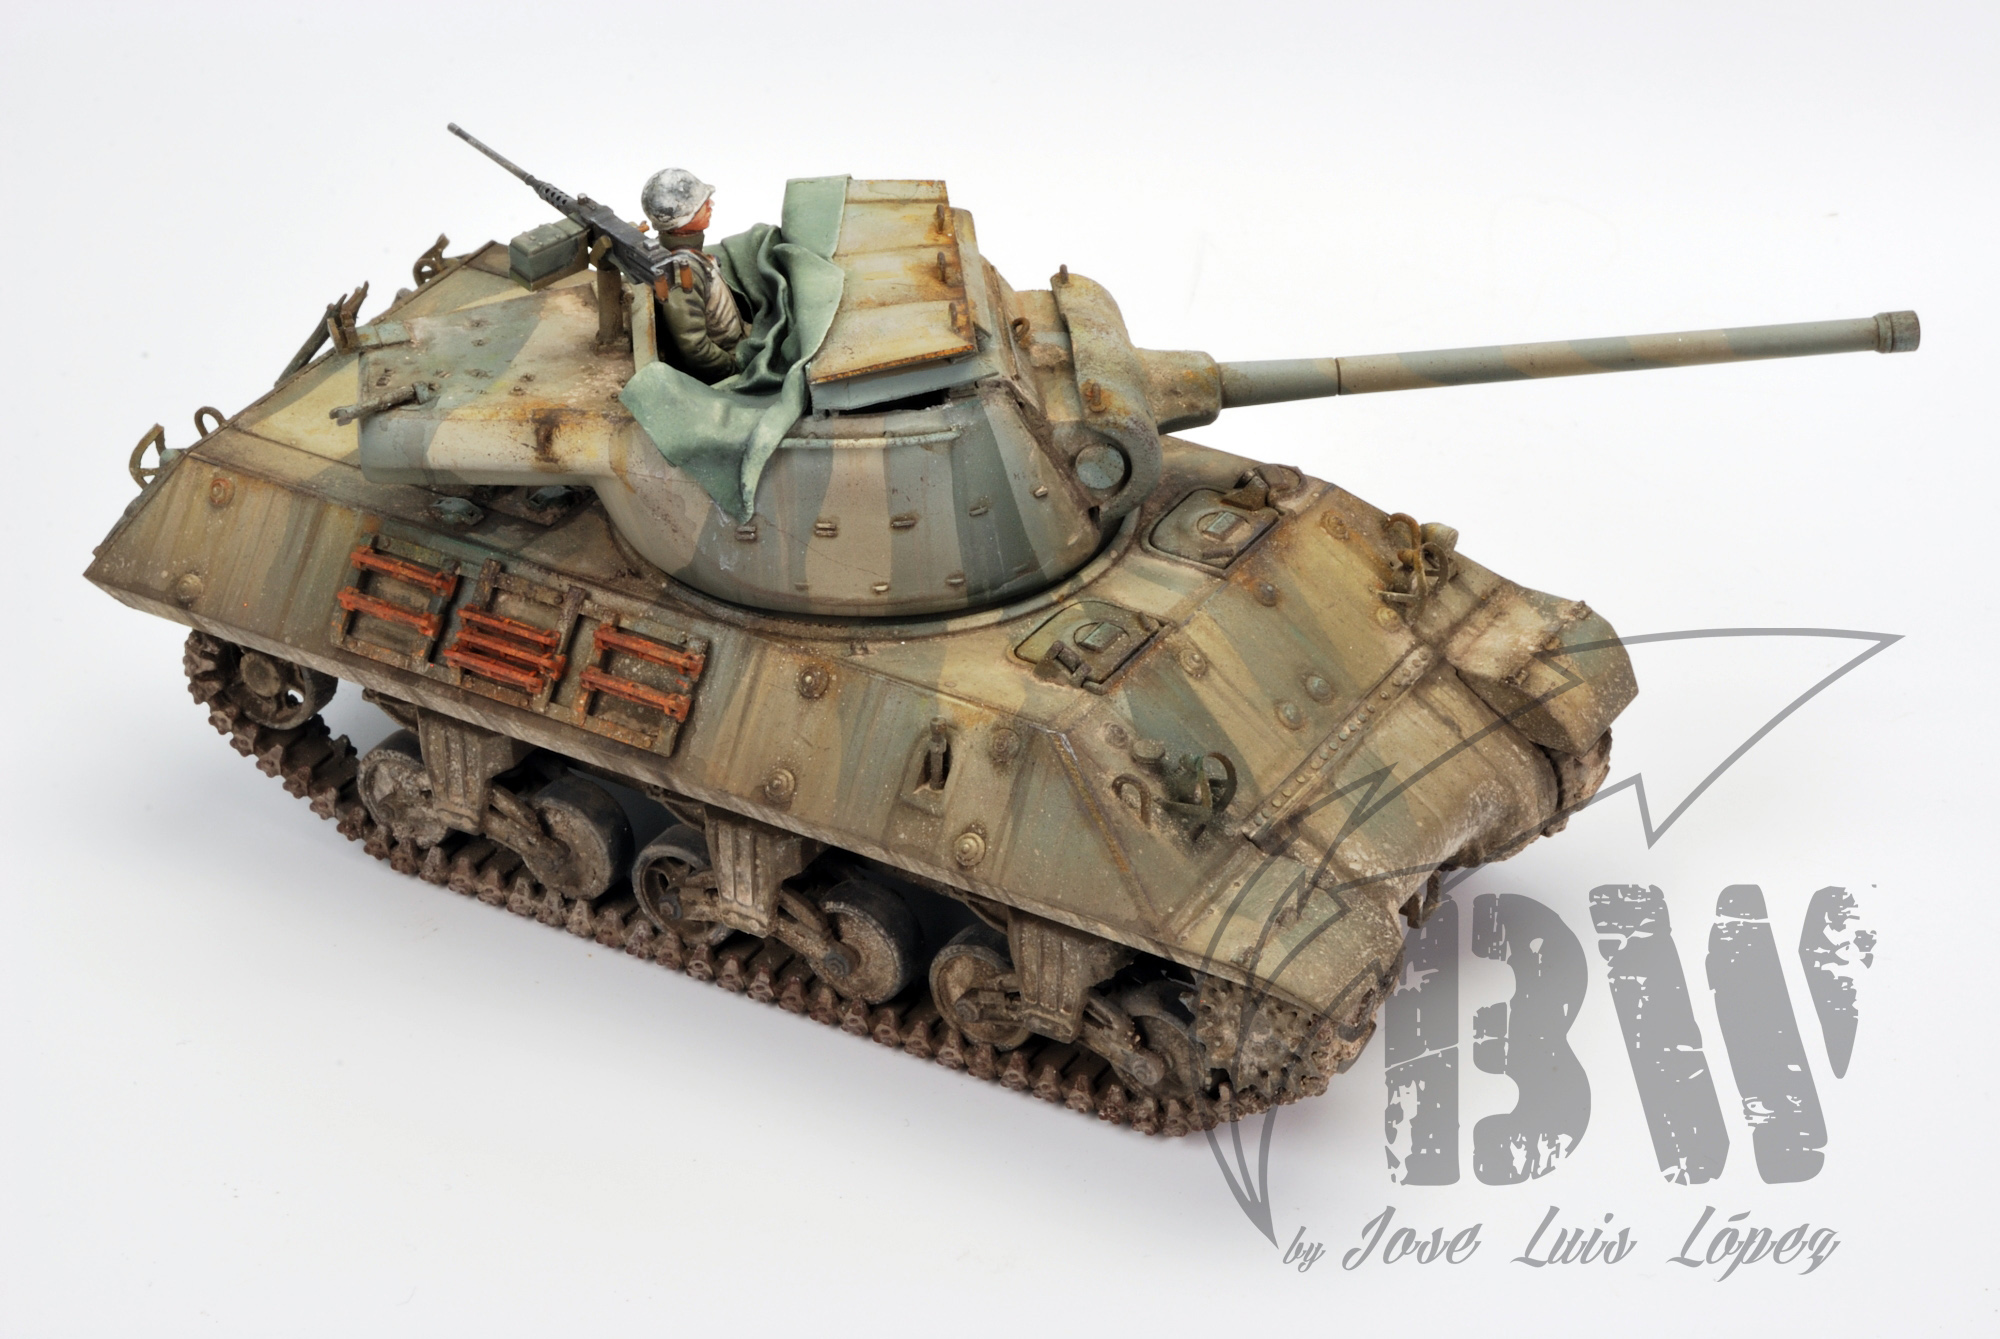
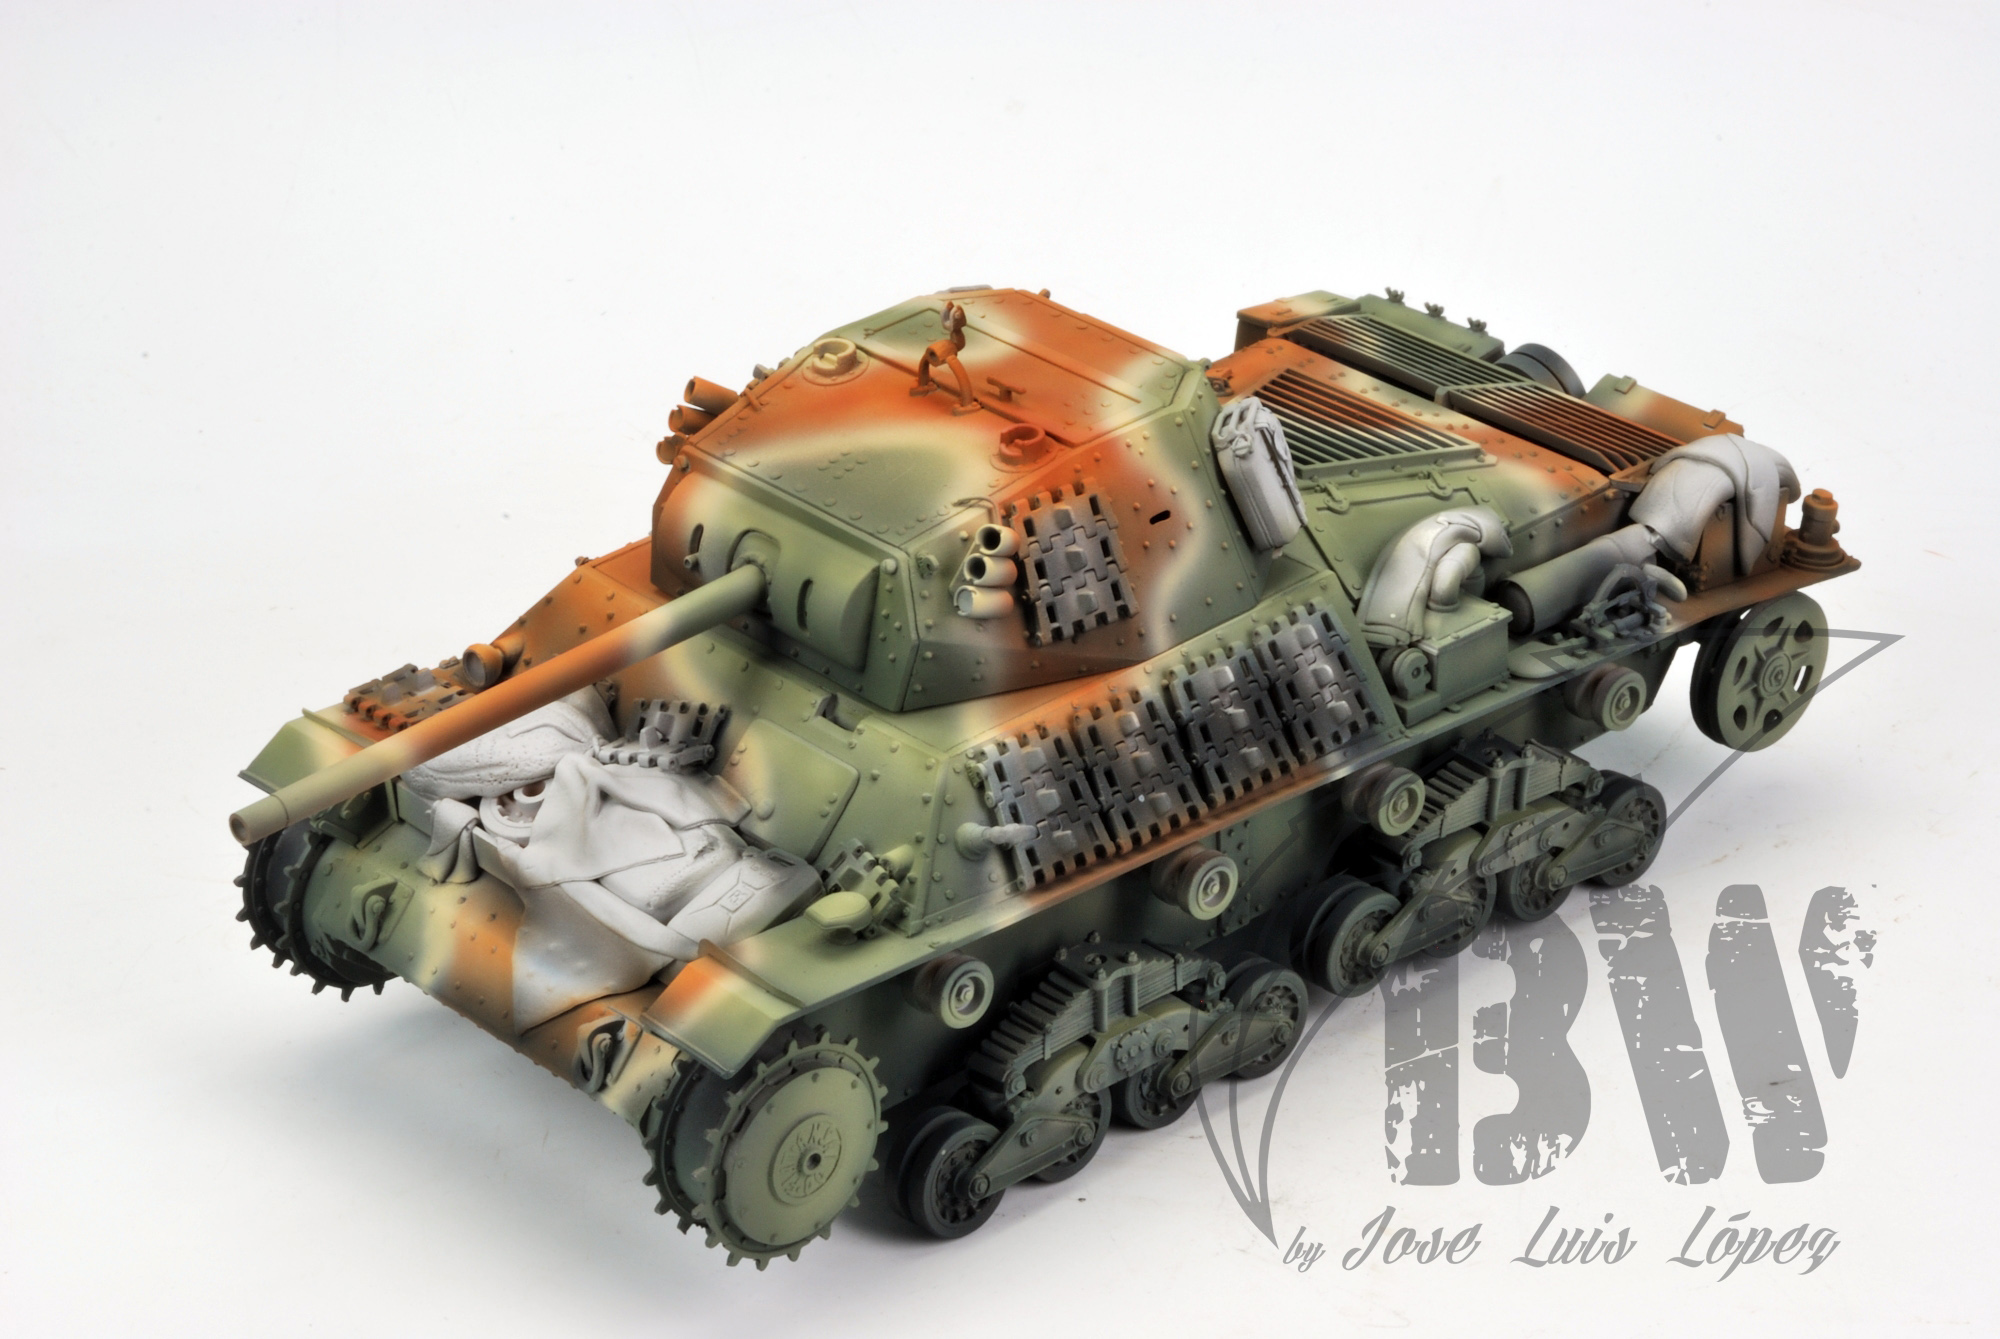
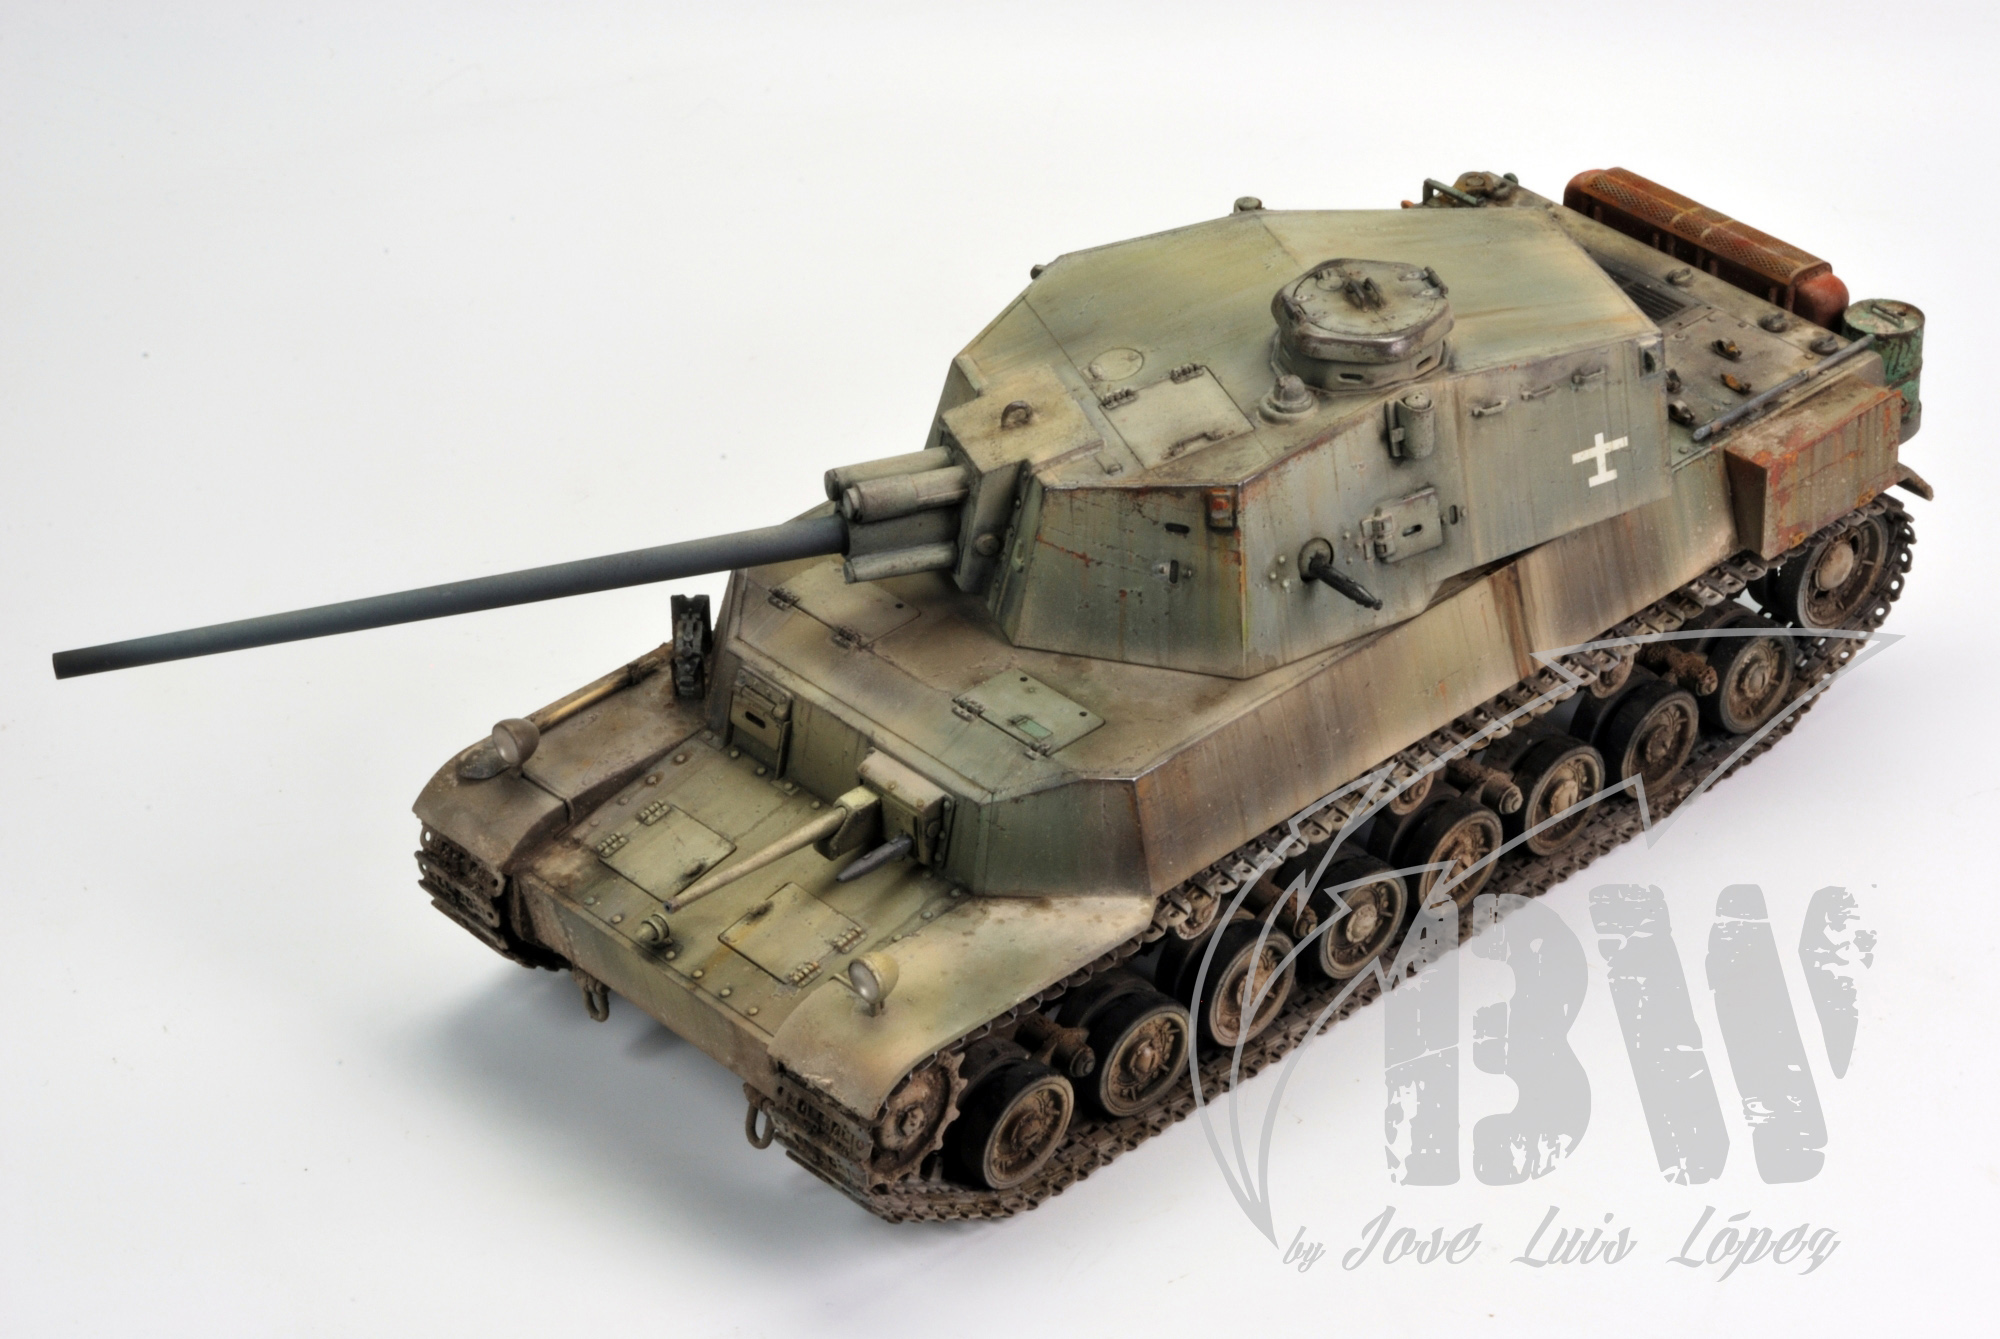
The pictures shows how the different colors are applied over the kit in the following order: green, red brown and dark yellow.


More examples:

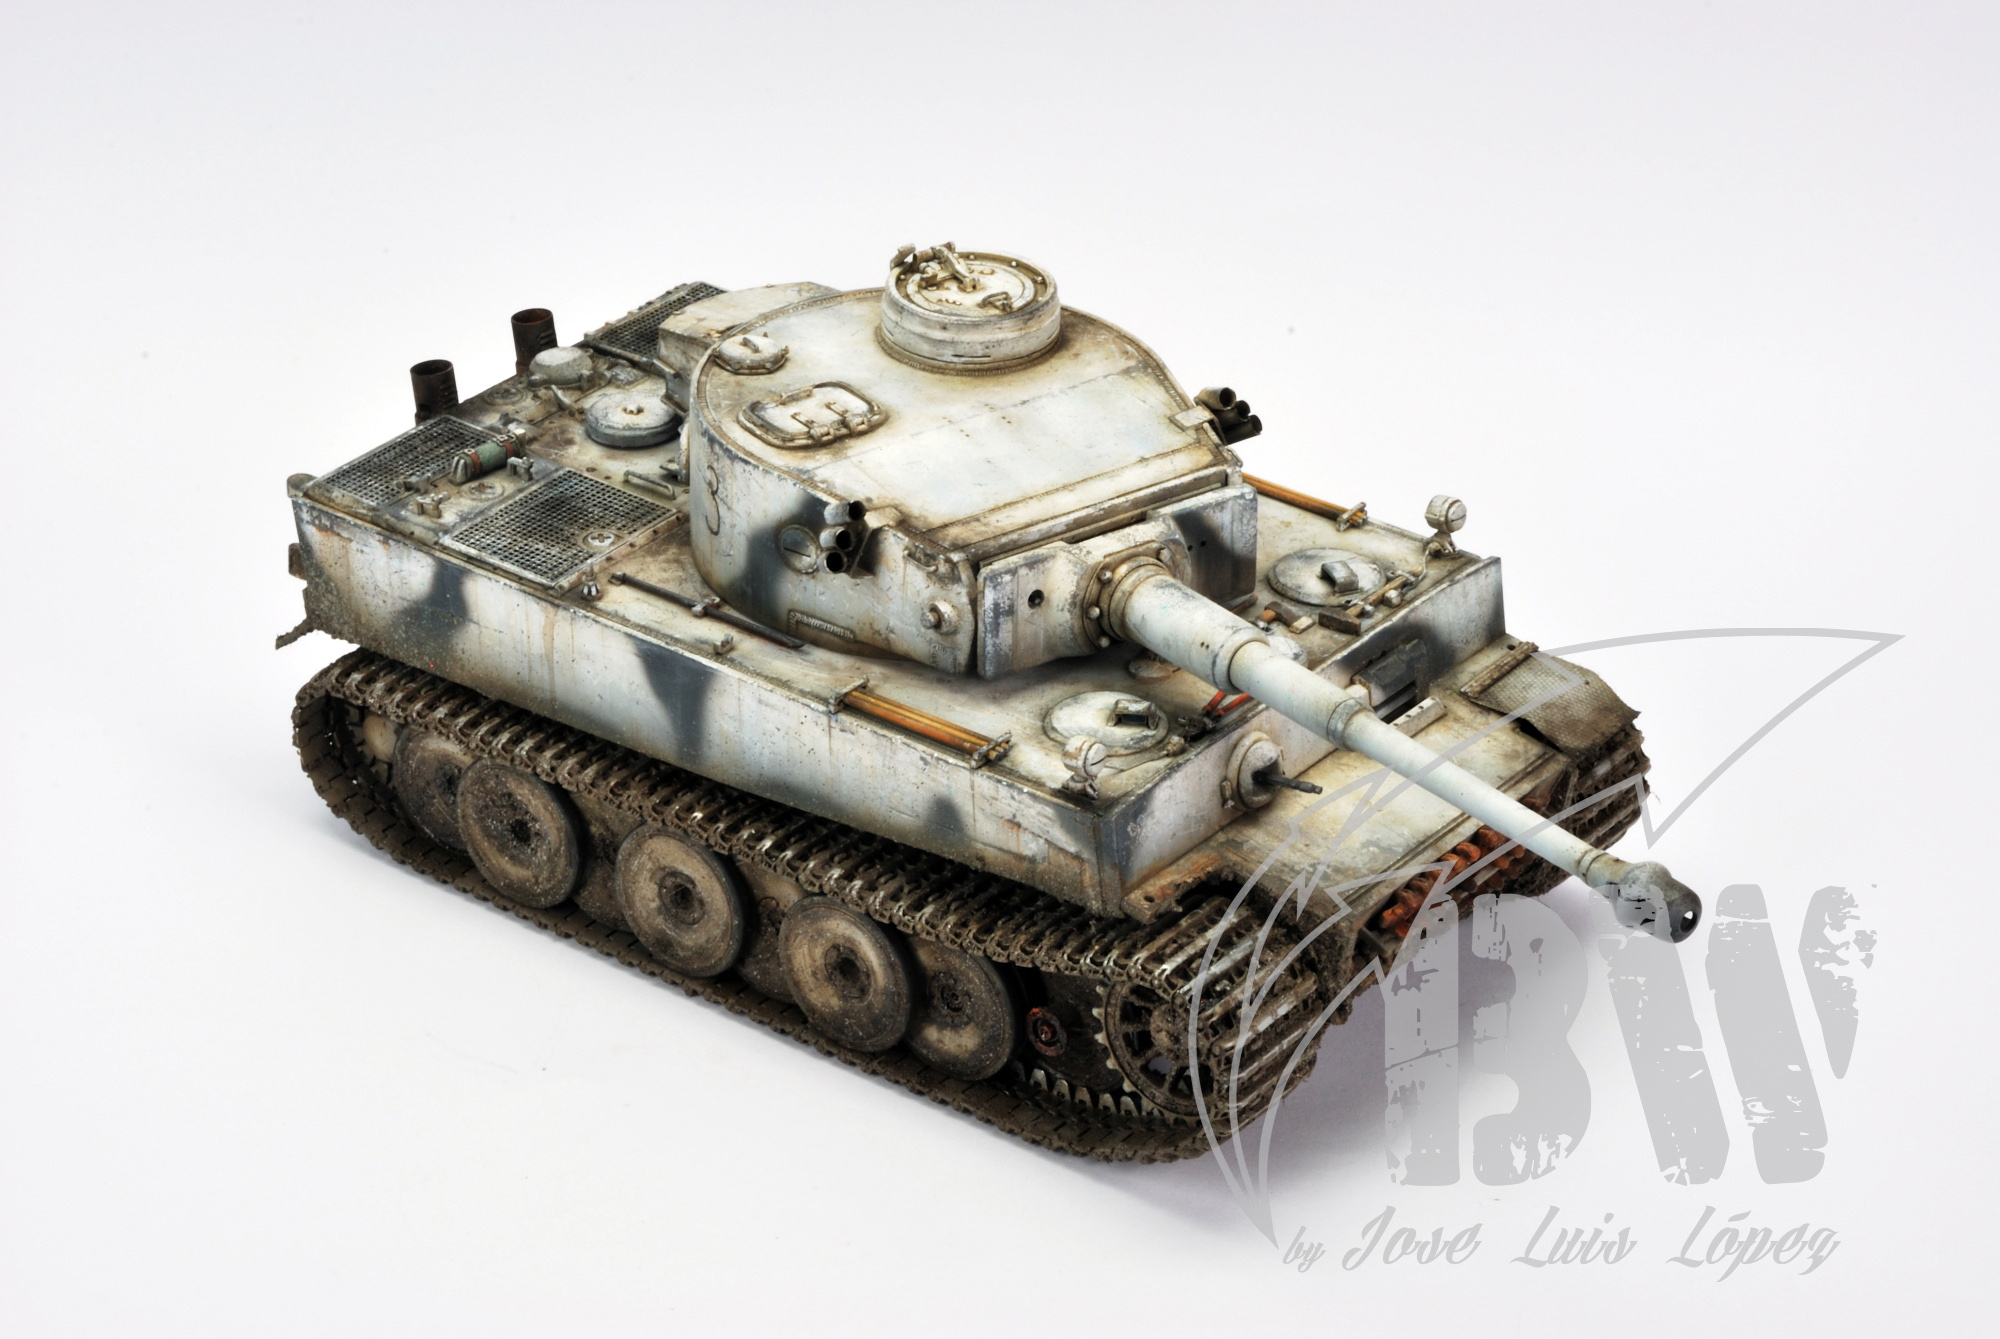
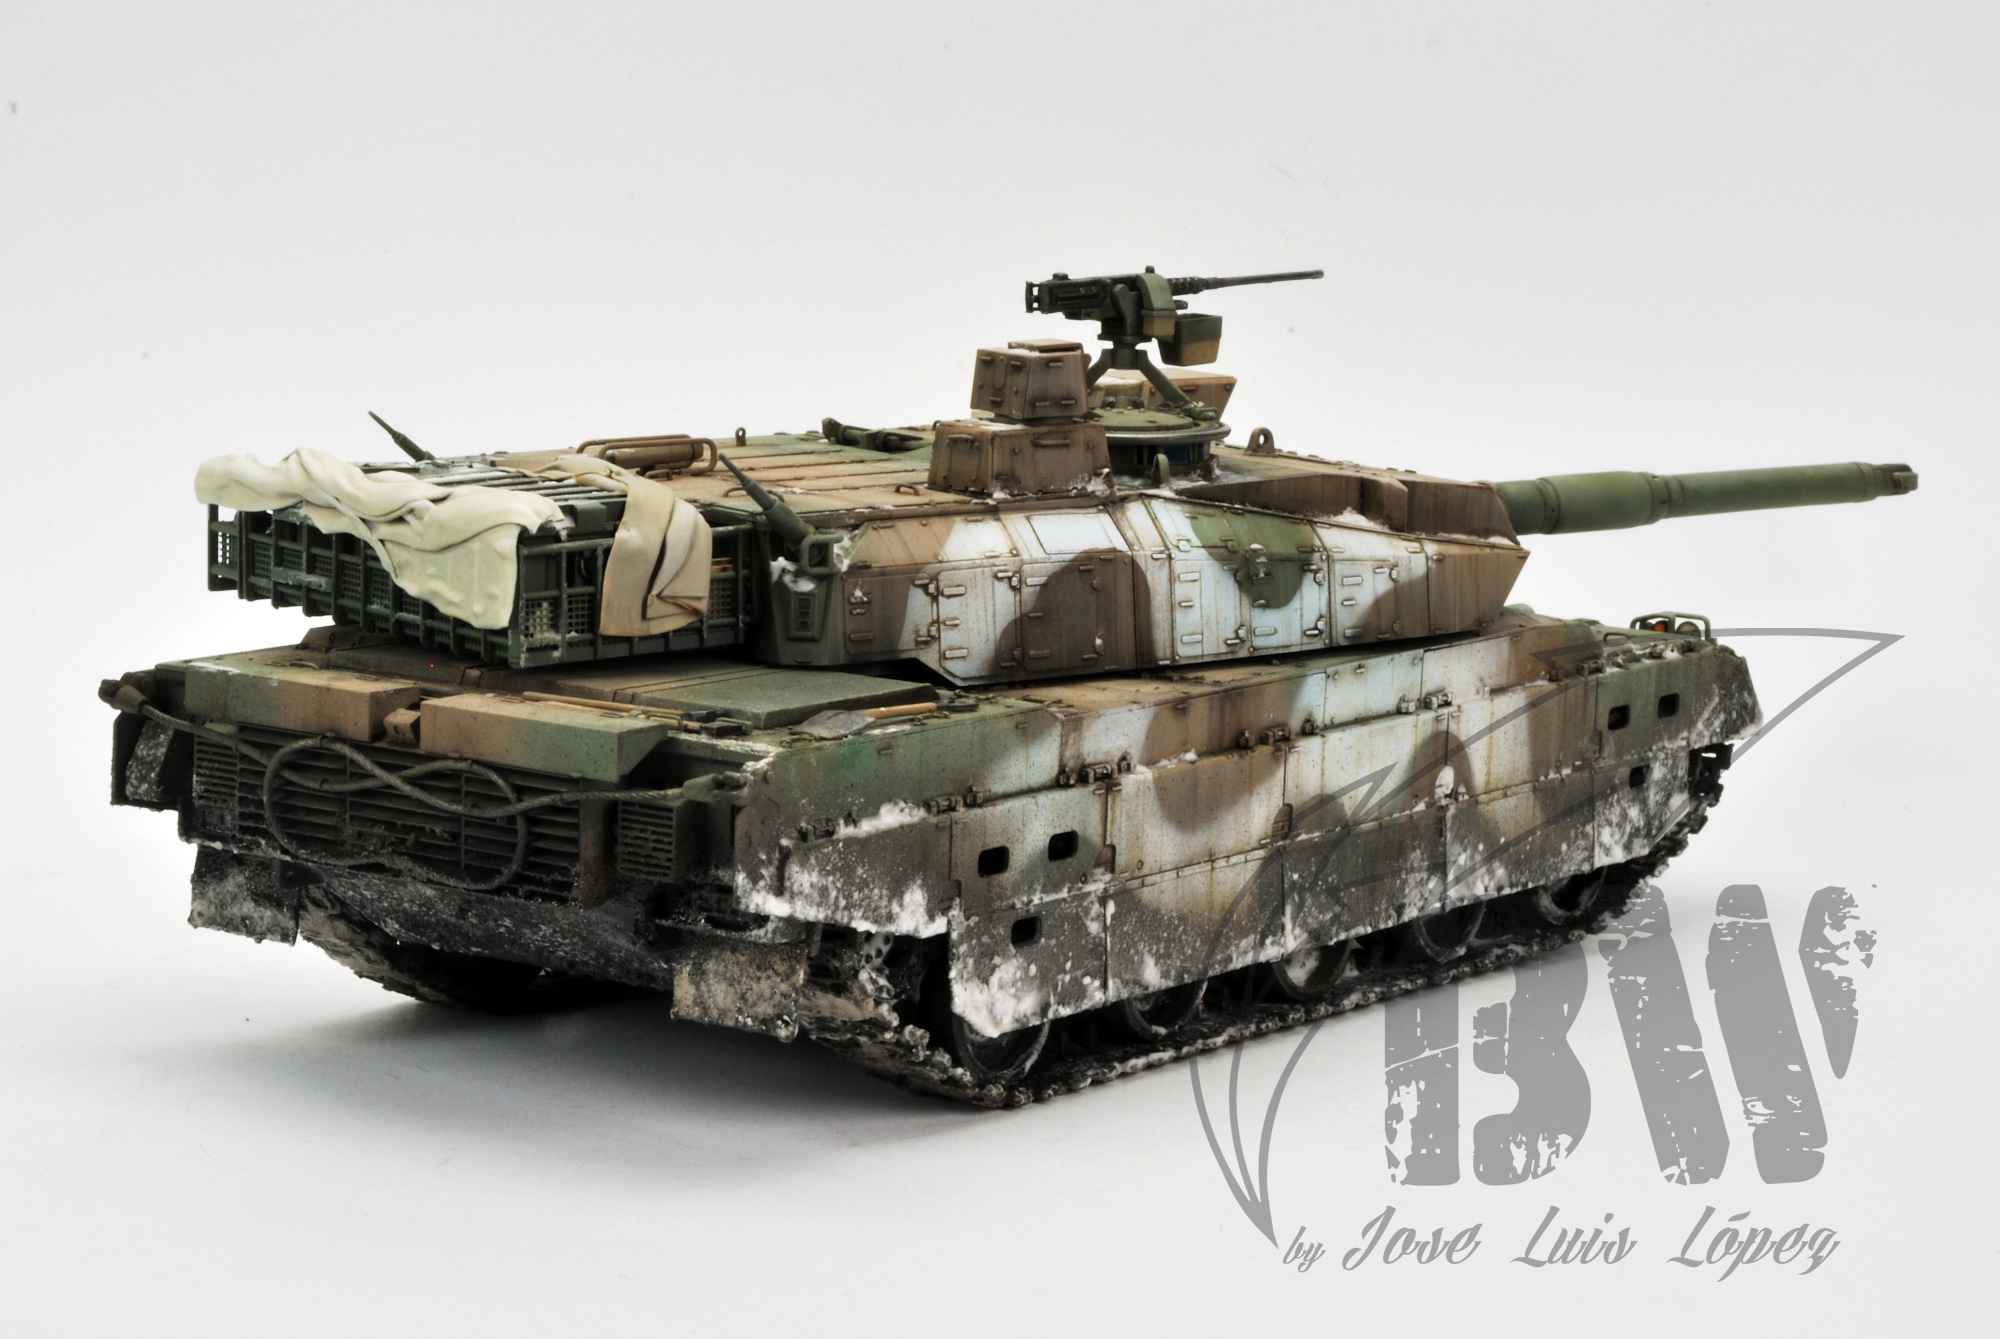
Worried about hard-shaped camos? Also possible! Just with some masking is also possible!